
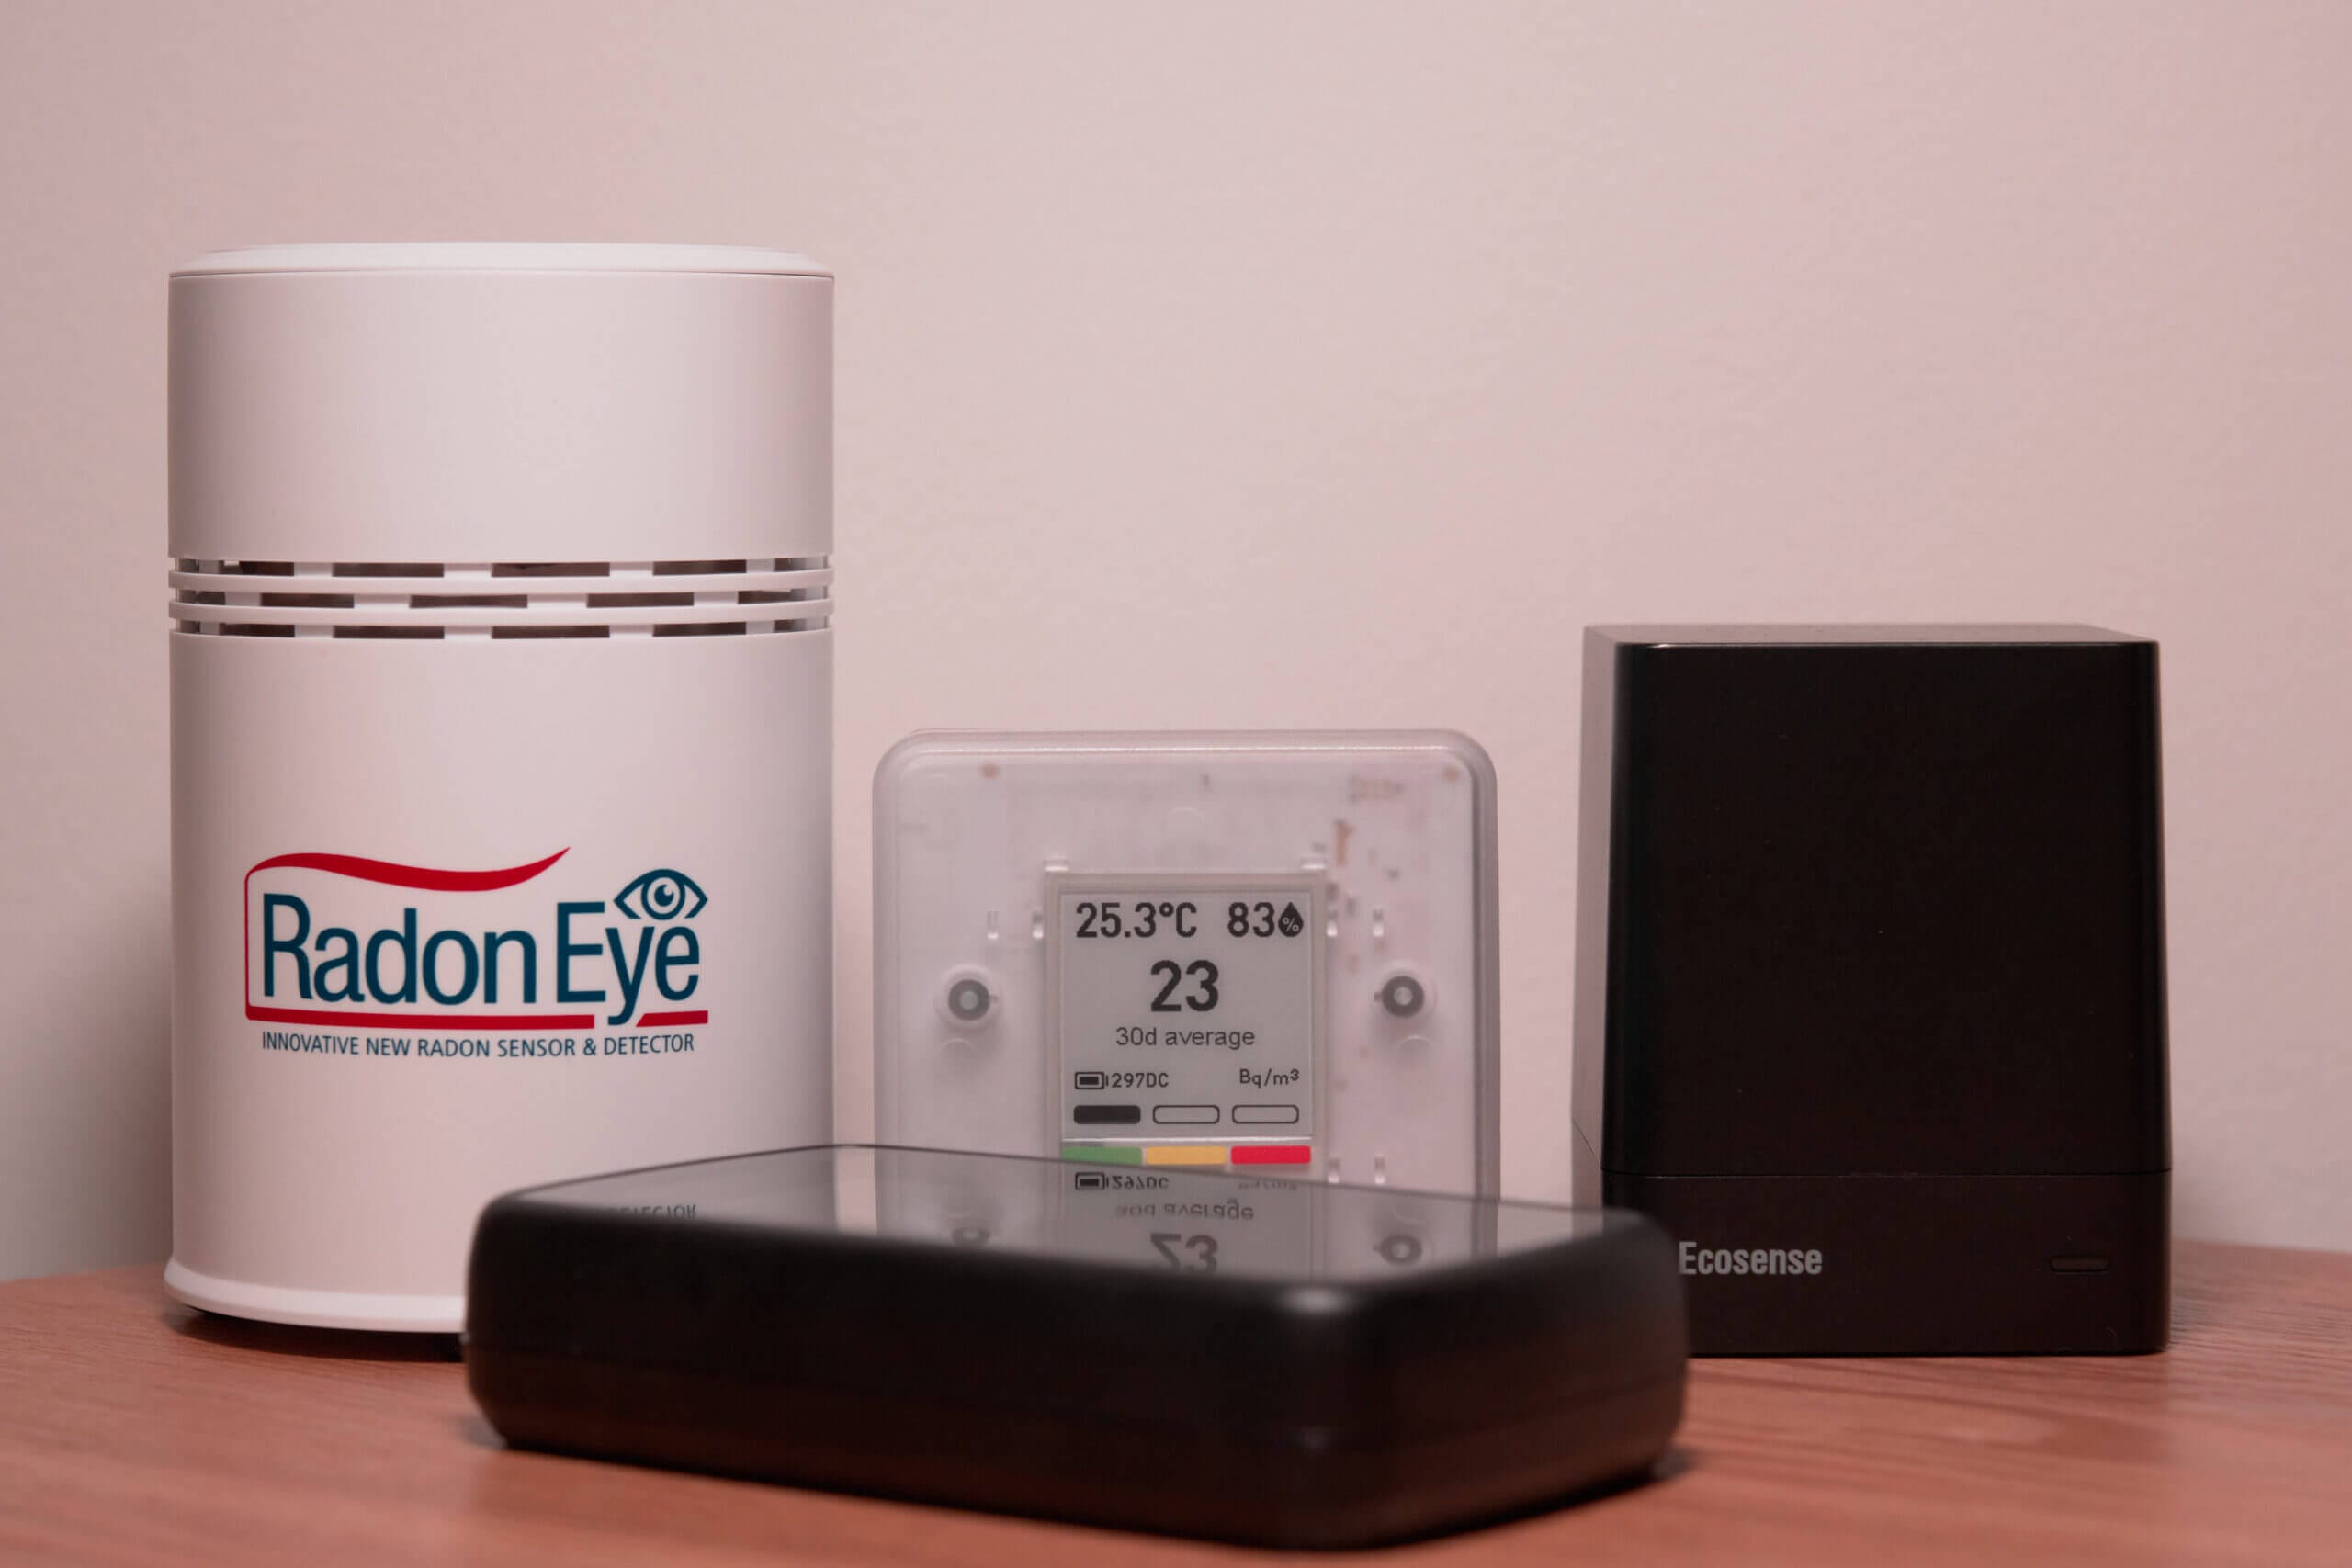
Depending on where you live, monitoring radon could potentially be life-saving. However, despite being a leading cause of lung cancer and a well-documented indoor hazard, radon monitoring devices haven’t seen the same rapid development or attention as CO2 or general air quality monitors over the past few years. After using many radon monitors myself, I’ve found the category surprisingly stagnant in some areas. This is especially true when it comes to connectivity, smart home integrations, and the general user experience. In many ways, radon monitors still feel like they’re stuck in the past.
That said, things are finally starting to improve. Over the past couple of years, we’ve seen some quite solid and well-rounded radon monitors hit the market, and it’s been great to watch these devices slowly modernise. Better displays, more reliable sensors, lower prices, and improved long-term stability have made accurate radon monitoring more accessible than ever.

A user-friendly, accurate radon monitor with excellent app support and smart home integration.
* This link may be an affiliate link. I can earn from qualifying purchases at no extra cost to you.

A feature-packed radon monitor for power users who want WiFi, rich data, and extensive smart home support.
* This link may be an affiliate link. I can earn from qualifying purchases at no extra cost to you.

A straightforward, battery-powered radon monitor that you can set up once and largely forget about.
* This link may be an affiliate link. I can earn from qualifying purchases at no extra cost to you.
Since I’ve now used quite a few different radon monitors across a range of environments, I felt it was time to put together a guide highlighting some of the best options currently available. As always, I’ve only included devices that I have personal experience with. I don’t think it’s fair to recommend a radon monitor I haven’t used myself – especially given the nature of what these devices are measuring. This means some models may not be included, either because I haven’t tested them yet or because they didn’t meet the standard of performance I expect for something this important.
If you want more detailed information on any of the radon monitors I mention below, I’ve linked to the full reviews where applicable. This article is meant to give a good overview of each device and help you narrow down your choices, but the full reviews dive deeper into accuracy, stability, usability, and long-term behaviour.
Radon monitoring is still an evolving space, and I expect we’ll continue to see better, more connected, and more affordable devices emerge in the coming years. For now, these are the radon monitors that I believe offer the best mix of accuracy, reliability, usability, and real-world value. With that said, let’s jump into the recommendations.
Here’s the short version. These are the five radon monitors I’ve tested and can recommend, side by side, with scores that use the same tiers as every other review on the site.
| Monitor | Best for | Price | Also measures | Battery | Score |
|---|---|---|---|---|---|
| Aranet Radon Plus details | Overall, connected radon | $189 (sales near $170) | Temp, RH, pressure | 2 × AA, up to 7 years | 4.0 |
| Airthings Corentium Home 2 details | Simple radon, no app needed | $179 | Radon only | 2 × AA, ~2-3 years | 4.0 |
| Airthings Corentium Home details | Cheapest reliable radon | $149 | Radon only | 3 × AAA, up to 2 years | 3.5 |
| Air-Q Radon details | Radon alongside everything else | €329-609 (~$355-660) by model | PM, CO2, VOC, temp, RH and more | Mains powered | 3.0 |
| Airthings View Plus details | Radon inside a whole-home monitor | $299 | PM1, PM2.5, CO2, VOC, temp, RH, pressure | 6 × AA or USB-C | 3.5 |
Every score here follows the same tiers, which I explain in full on my methodology page.

I independently review air quality monitors with a focus on accuracy. I’ve tested well over 50 devices, compared some of them against reference instruments, and rely on peer-reviewed research and third-party studies wherever possible.
I don’t accept sponsored posts or paid reviews, and I don’t run ads on BreatheSafeAir. When I receive a free product, the company has no say in what I write. Affiliate links don’t influence my views and never increase the price you pay.
I’m constantly learning about how these sensors work – from opening them up, discussing with researchers in the field and examining the hardware inside. That ongoing learning process helps me write reviews that are grounded in how the technology actually behaves, not just what the spec sheet says.
You can read my full Disclaimers & Ethics page for complete details. And as with any review, even mine, I always encourage checking multiple independent sources before making a decision.
This post contains affiliate links. For more information, please refer to my affiliate disclaimer.
Informational Disclaimer: Information on this blog is for informational purposes only. Readers are encouraged to confirm the information herein with other sources. This website assumes no responsibility for the accuracy of the information, which is subject to change without notice.
If you notice any errors or inconsistencies in this article, please contact me so I can update the information accordingly.
Do You Need to Monitor Radon?
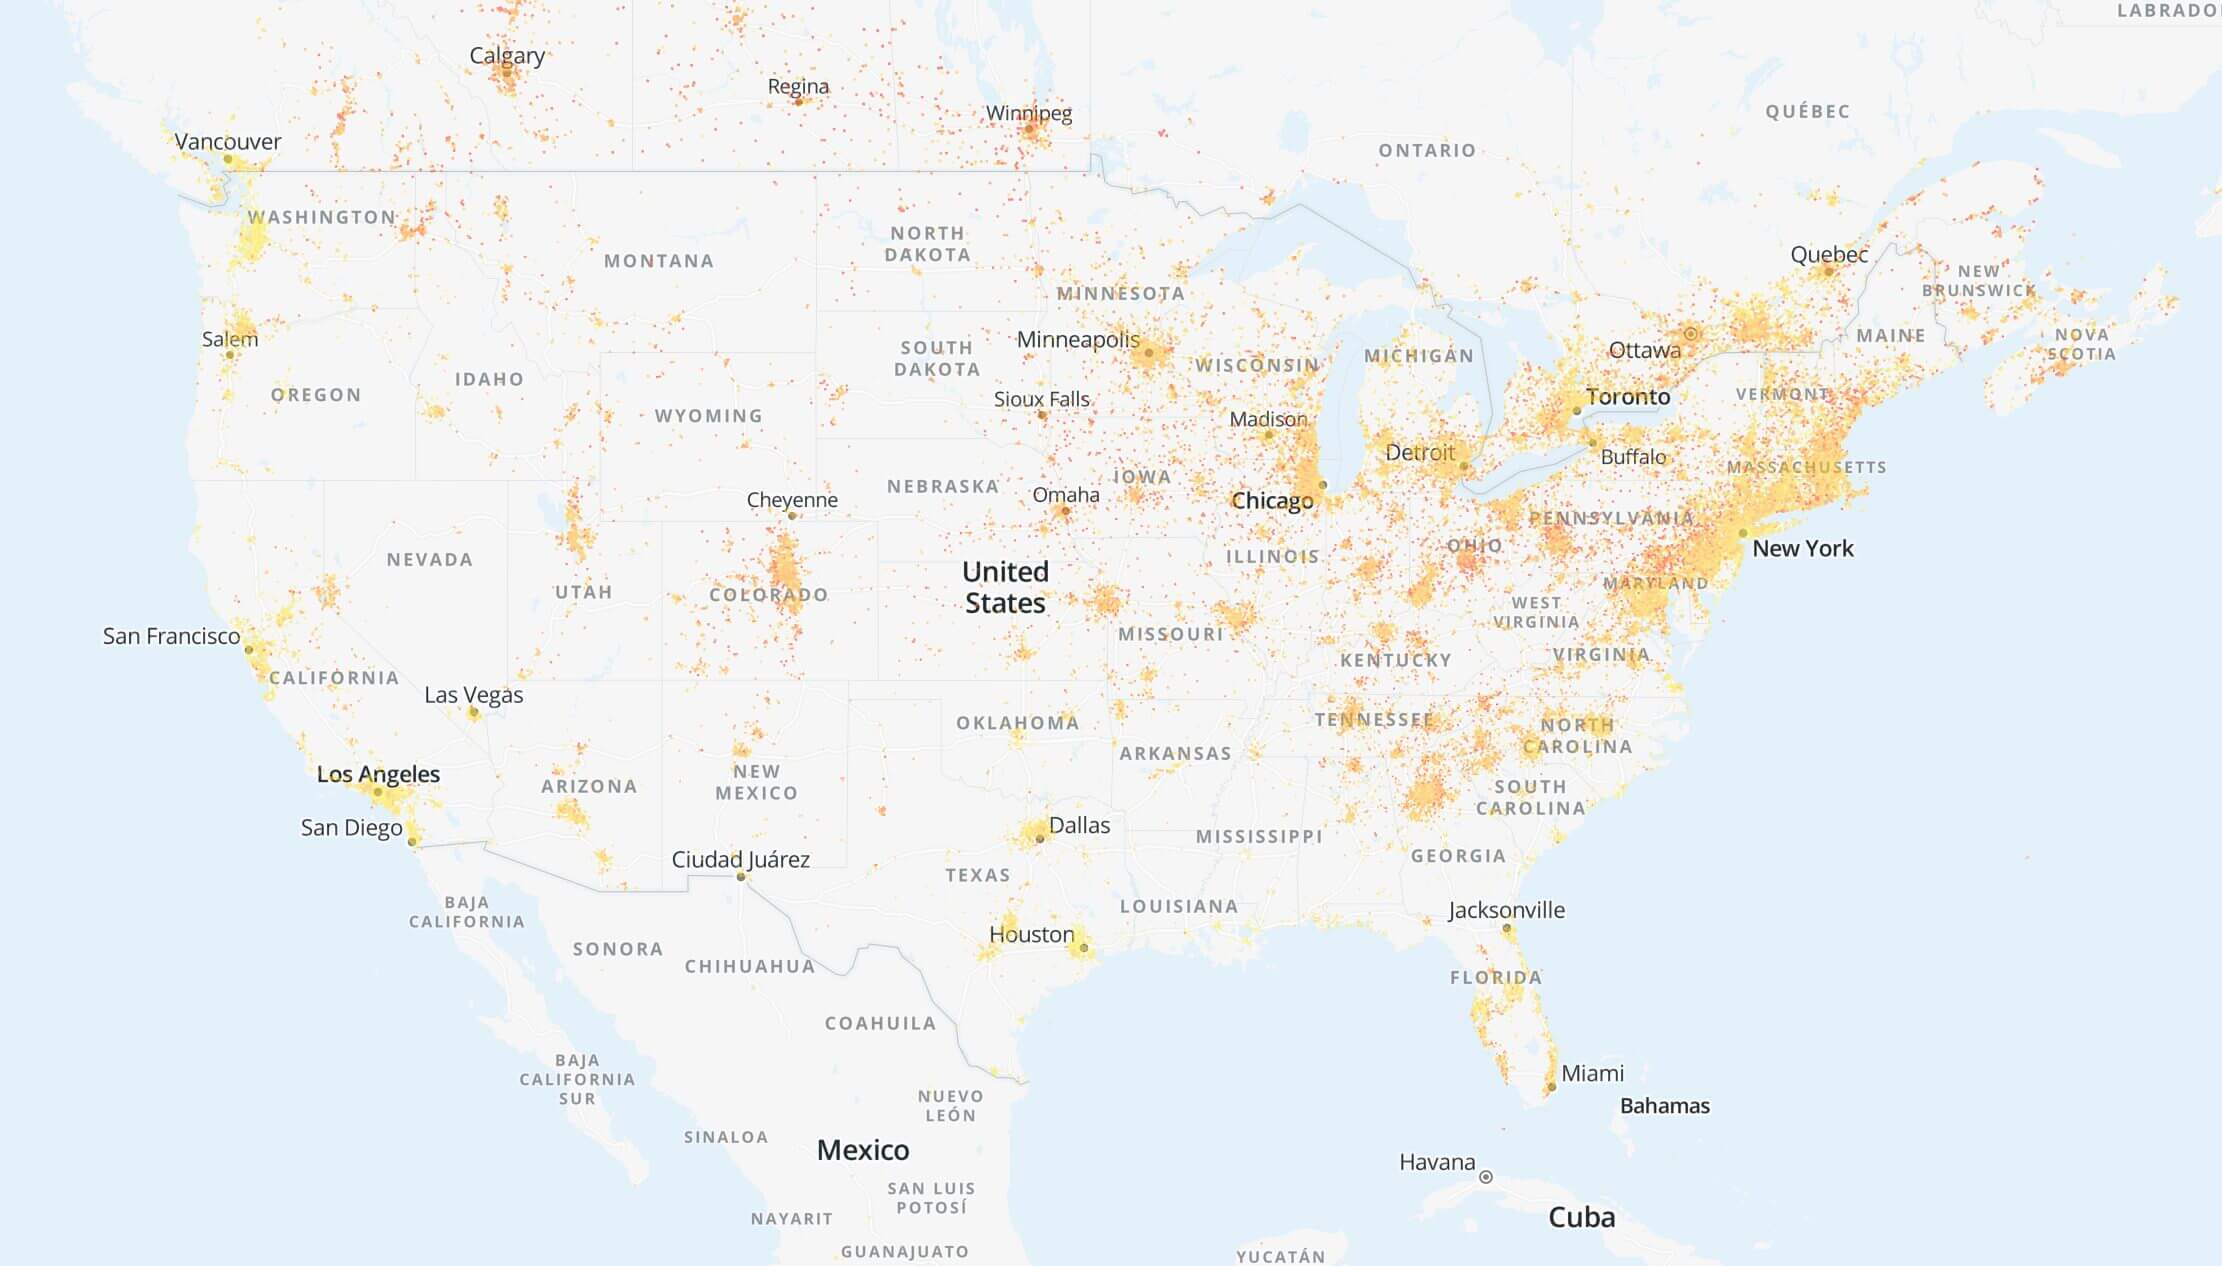
U.S. and Canada on the Airthings Radon Map.
Whether or not you need a radon monitor depends almost entirely on where you live and the type of building you’re in. Radon is a naturally occurring radioactive gas that seeps up from the soil, which means it typically enters homes through cracks in foundations, gaps in flooring, or other openings that connect indoor spaces to the ground below. Because of this, radon is primarily a concern in houses, especially those with basements, crawl spaces, or ground-level living areas.
If you live on a higher floor in a multi-storey building, such as a condo or apartment complex, the risk is generally far lower (but radon can still be present, spreading through ventilation systems and stairwells). Radon concentrations tend to drop significantly as you move higher above ground level, and many apartment dwellers will never see meaningful levels indoors. Most people living above the first few floors are unlikely to benefit from owning a radon monitor unless their building has known issues or sits in a high-risk zone.
Radon risk also varies widely depending on geography. Some regions have naturally higher radon levels due to the composition of the underlying soil and rock. If you’re unsure whether radon is a concern in your area, it’s worth checking your local radon map or government geological data. These maps give a good indication of whether radon levels tend to be elevated regionally – though actual concentrations can still vary from house to house. If you want to check your area, you can use these maps:
While these maps are useful, it’s important to remember they only reflect estimated risk for ground-level structures. Radon can accumulate in any space that sits below or directly against the soil, regardless of regional averages. This means basements, underground rooms, and partially buried living areas should always be tested, even in countries where radon is generally considered a low concern. It’s also worth noting that radon is far more commonly reported at meaningful levels in the United States, Canada, and parts of Western Europe. In many other regions, radon is significantly less prevalent – but individual buildings can still vary, which is why testing lower and ground-level spaces is always the safest approach.
If you live in a house with a basement, a ground-level floor in direct contact with the soil, or in a region known for elevated radon levels, a radon monitor can be a very worthwhile purchase. But if you’re in an upper-floor apartment or in a part of the world where radon is rarely detected, a radon monitor likely won’t provide much value. If you’re unsure, the safest approach is always to test.
Radon monitor vs one-time-test
If you’re deciding between buying a radon monitor or using a one-time test kit, the best choice often comes down to cost and what you’re hoping to learn. If you’re simply curious about whether radon is present in your home – and the test is meaningfully cheaper – a short-term test kit is likely a better option. However, if the price is similar in your area, or if you want to track radon levels over time, a dedicated radon monitor is usually the better investment. Radon levels can fluctuate seasonally, daily, and even hourly, so continuous monitoring provides a far clearer picture of long-term exposure and whether mitigation is actually working.
Radon Monitor Buying Considerations
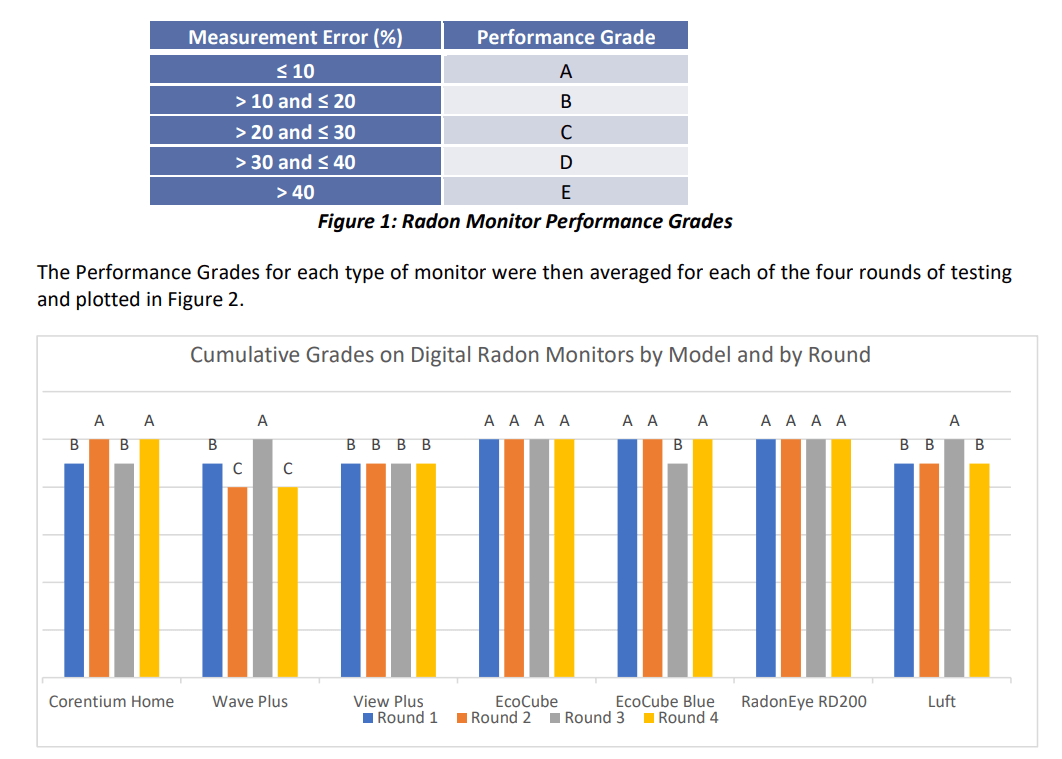
Consumer-grade radon monitor accuracy as tested by C-NRPP.
Monitoring radon is very different from monitoring particulate matter or carbon dioxide. While typical air quality monitors provide meaningful readings within seconds or minutes, radon monitors operate on much longer timescales and behave quite differently. If you’re new to radon monitoring, here are the key things to understand before placing or interpreting a device.
1. Accurate radon readings take time
Many consumer radon monitors can give you a rough indication of radon levels within the first 24 hours, but this early reading usually carries a wide accuracy range – often ± 20% or more. To reach their published accuracy rating (commonly around ± 5% or ± 10%), monitors generally need to remain in the same location for weeks. Many manufacturers recommend 30–90 days of continuous measurement before drawing firm conclusions.
It’s important to note that over this time, it’s possible that radon concentrations change. As we will discuss soon, radon monitors are also susceptible to factors such as humidity and temperature, and this means that there can be a lot of seasonal variation in readings.
2. Radon monitors shouldn’t be moved frequently
That leads us right into the second point. Because radon levels fluctuate naturally and because monitors rely on long averaging windows, relocating a device effectively resets the clock. If you’re after the most accurate numbers, it’s best to choose a location and keep the monitor there for the full measurement period. Unlike typical air quality monitors, radon devices aren’t designed to be moved room to room or used as general spot-checkers.
3. Placement matters more than people expect
On that note, for best results, monitors should be placed:
- On the lowest lived-in floor,
- Out of the way of direct sunlight,
- Away from exterior walls where airflow is inconsistent,
- At breathing height,
- Not directly beside ventilation systems, windows, or heating units.
Even small placement errors can change short-term readings and cause inconsistencies that can impact long-term readings too. Regardless of which radon monitor you purchase, ensure you read the instructions and know how best to place the device. UKRadon also has a great placement guide that can be found here.
4. Accuracy depends heavily on other factors
As we briefly touched on, radon sensors are very sensitive to their environment, and both high humidity and extreme temperatures can skew readings. For the best accuracy, keep the monitor in a room with moderate humidity and stable temperatures. Conditions outside this range don’t always invalidate measurements, but they can increase uncertainty.
5. Radon is measured in two different units
Radon levels are commonly reported using:
- Bq/m³ (Becquerels per cubic meter) – the international SI unit, used in most of the world.
- pCi/L (picocuries per liter) – used primarily in the United States and occasionally Canada.
Conversion:
- 1 pCi/L = 37 Bq/m³
- 1 Bq/m³ ≈ 0.027 pCi/L
Make sure your monitor is set to the unit common in your region (or whichever you are more comfortable with), and double-check which number you’re comparing when reading online guidelines as the two scales differ by a factor of 37. One quick note: I’ve found that a surprising amount of monitors don’t allow the user to pick which unit they prefer and are instead limited to their regional standard.
6. Radon monitors slowly drift
Consumer-grade radon sensors degrade over time. While every manufacturer has different recommendations, most devices should be replaced or recalibrated after 5-10 years. Drift is gradual, but it can become significant – especially if you’re monitoring for safety rather than curiosity. Unfortunately (but perhaps intentionally), it’s quite common for consumer-grade devices to not support recalibration – even if they are sent to the manufacturer. In these cases, a replacement device will be needed.
7. Seasonal variation can impact readings
Radon levels often spike in winter due to closed windows, stack effect, and lower ventilation. A home that tests “safe” in summer can exceed action levels in colder months. If budget allows, long-term monitoring captures these seasonal swings more reliably than a single short-term test.
Best Radon Monitors
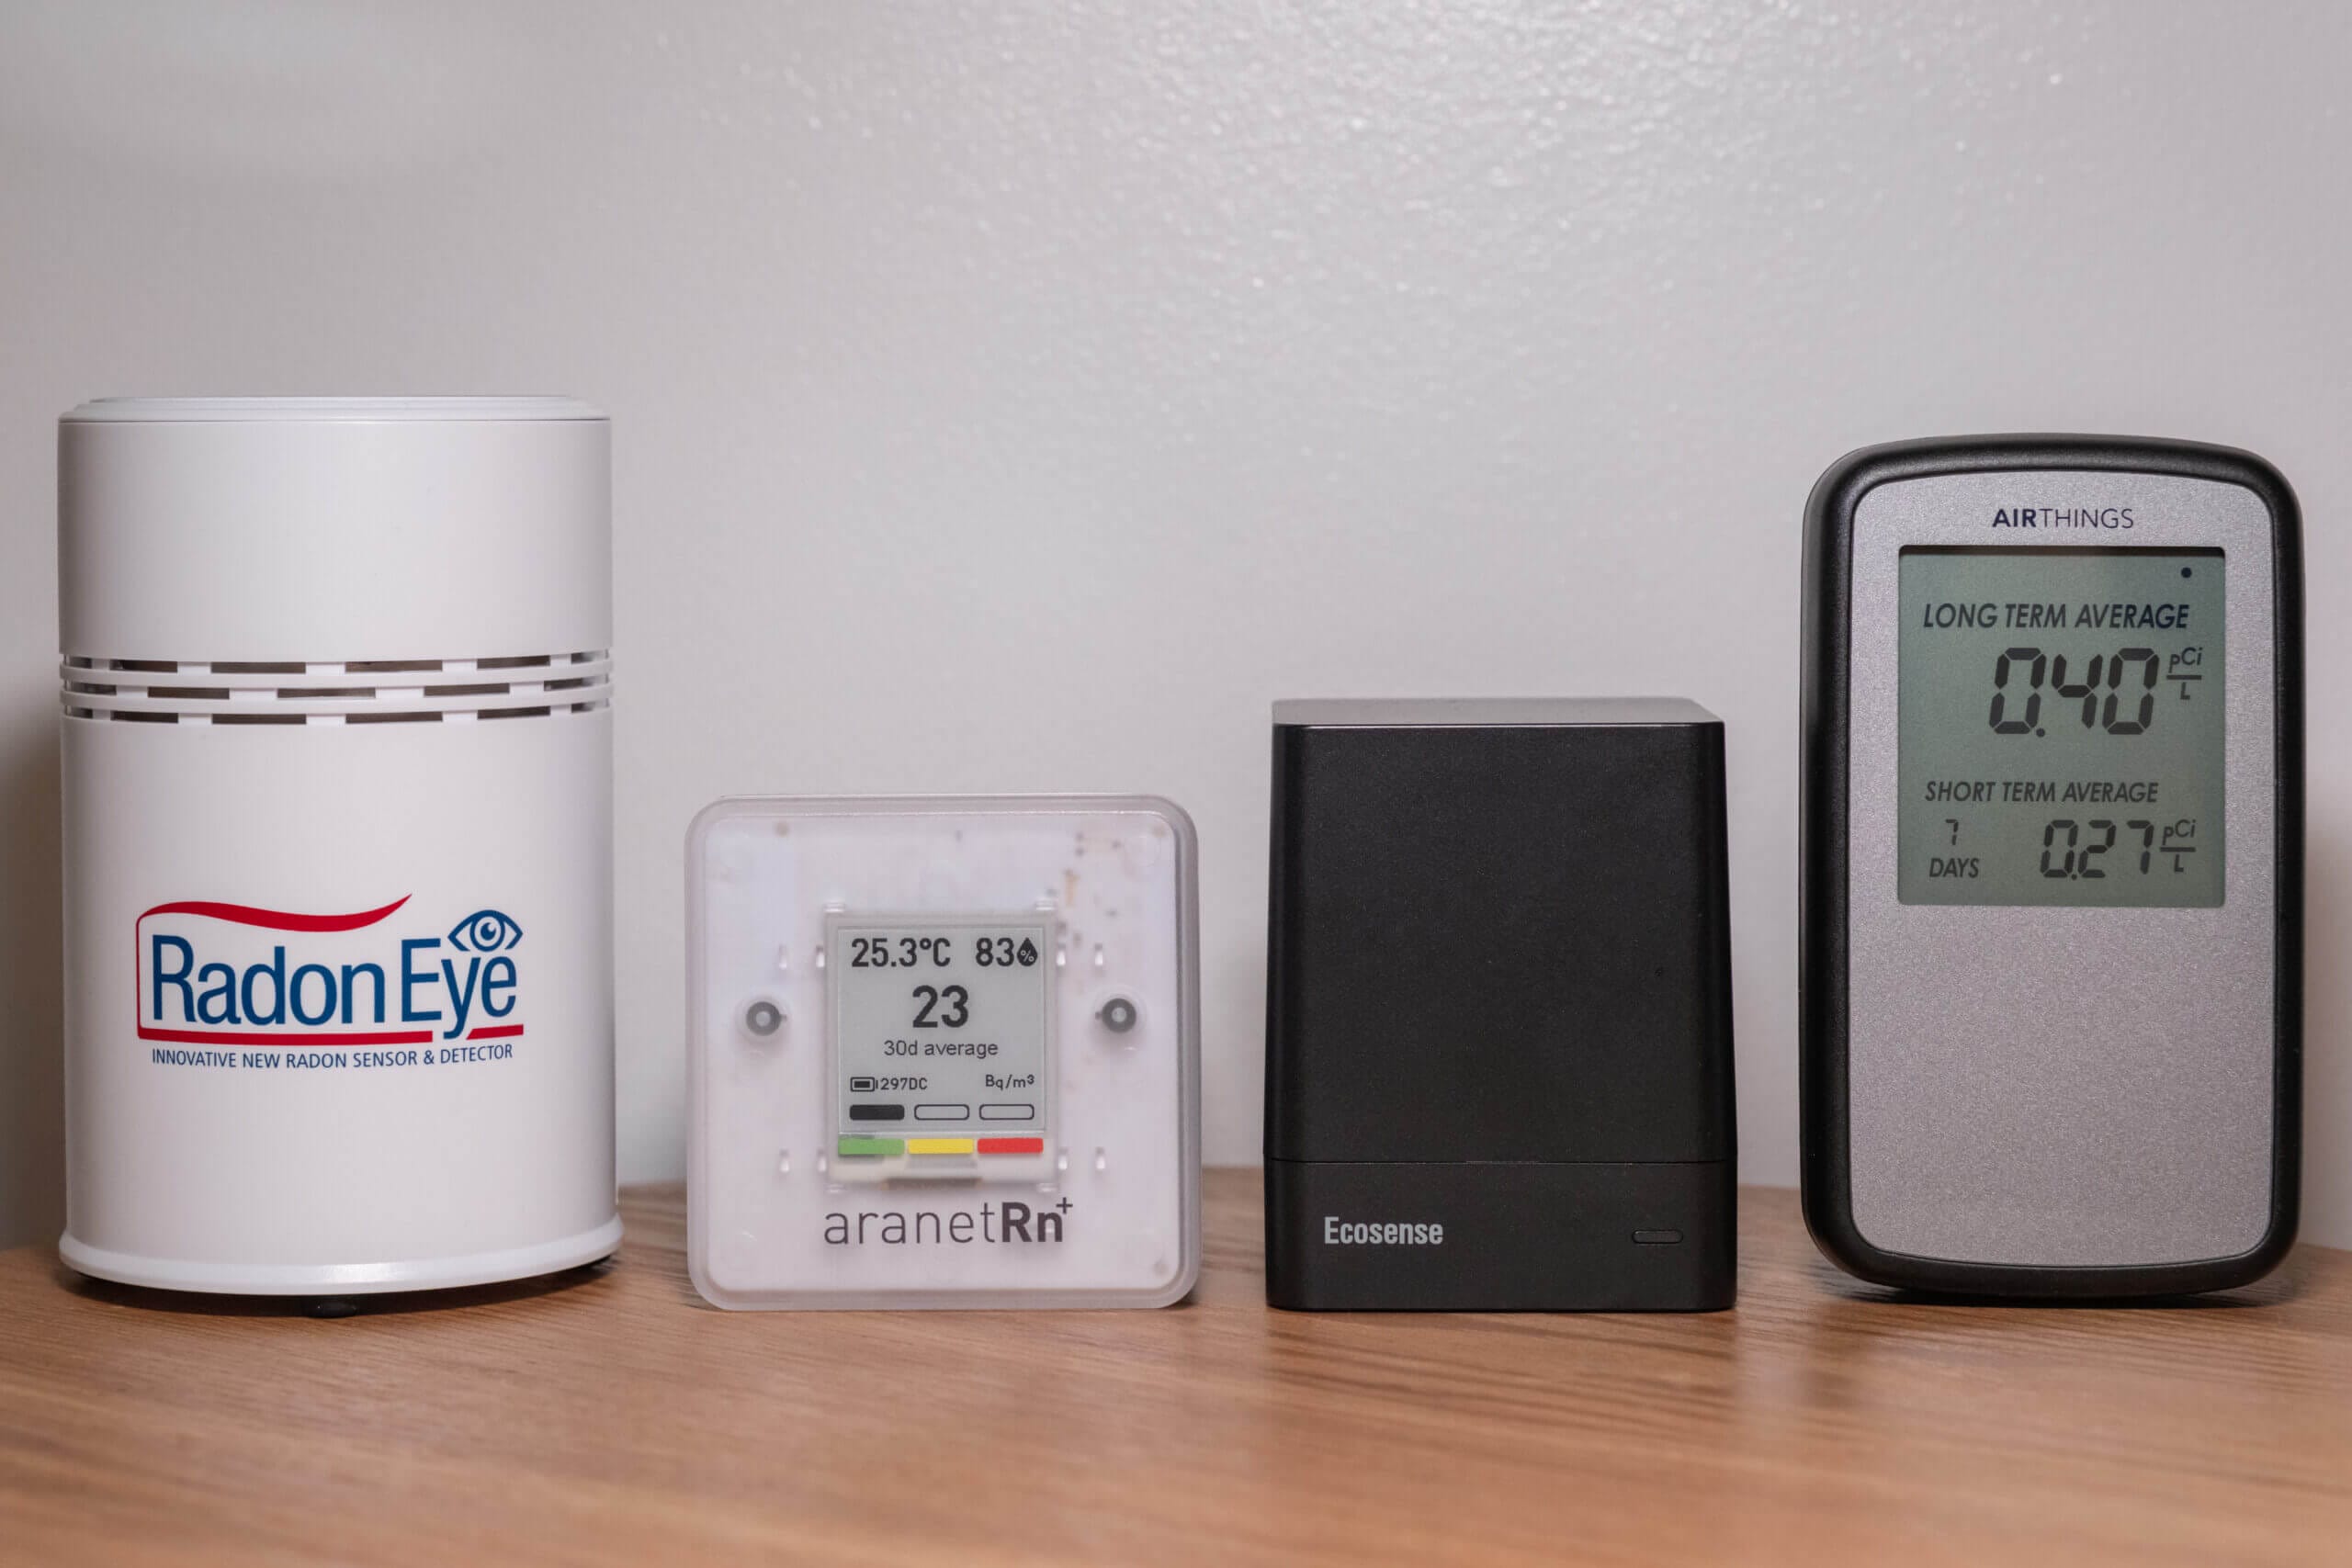
Before diving into my recommendations, I want to quickly clarify how I approached selecting the monitors on this list. Over the past few years, I’ve used a range of radon monitors – some very well-known, others a bit more obscure – and not all of them made it into this guide. In a few cases, that decision simply came down to practical limitations.
For example, I’ve owned a RadonEye for quite some time, and while it performed well in several third-party evaluations, I chose not to include it here. During my own testing in Australia and the Philippines, I found the app to be region-locked, which meant I couldn’t properly use or evaluate the device in either location. While I think this device may be a good option for those in North America, I wanted to make this list universal and include only monitors available for everyone.
I also have an EcoQube at home and generally prefer it over the RadonEye, but it suffers from the same regional limitations. While both devices may still be worth considering if you live in an area where the apps function properly, I wanted this list to focus on monitors that I could test consistently and without artificial restrictions. With that in mind, the devices below represent what I consider the strongest, most reliable options based on hands-on use, long-term testing, and overall practicality.
BreatheSafeAir is a one-person publication. Every share and every subscriber is important to me.
I don’t have a marketing budget or a team behind me. Just a lot of test equipment and a genuine interest in helping you make sense of your air quality. If you find this useful, subscribing to my newsletter is the best free way to support the work. You’ll get information on what I’m currently testing, findings that don’t make it into the full reviews, and the kind of detail you only get from someone who thoroughly tests these devices.
Aranet Radon Plus
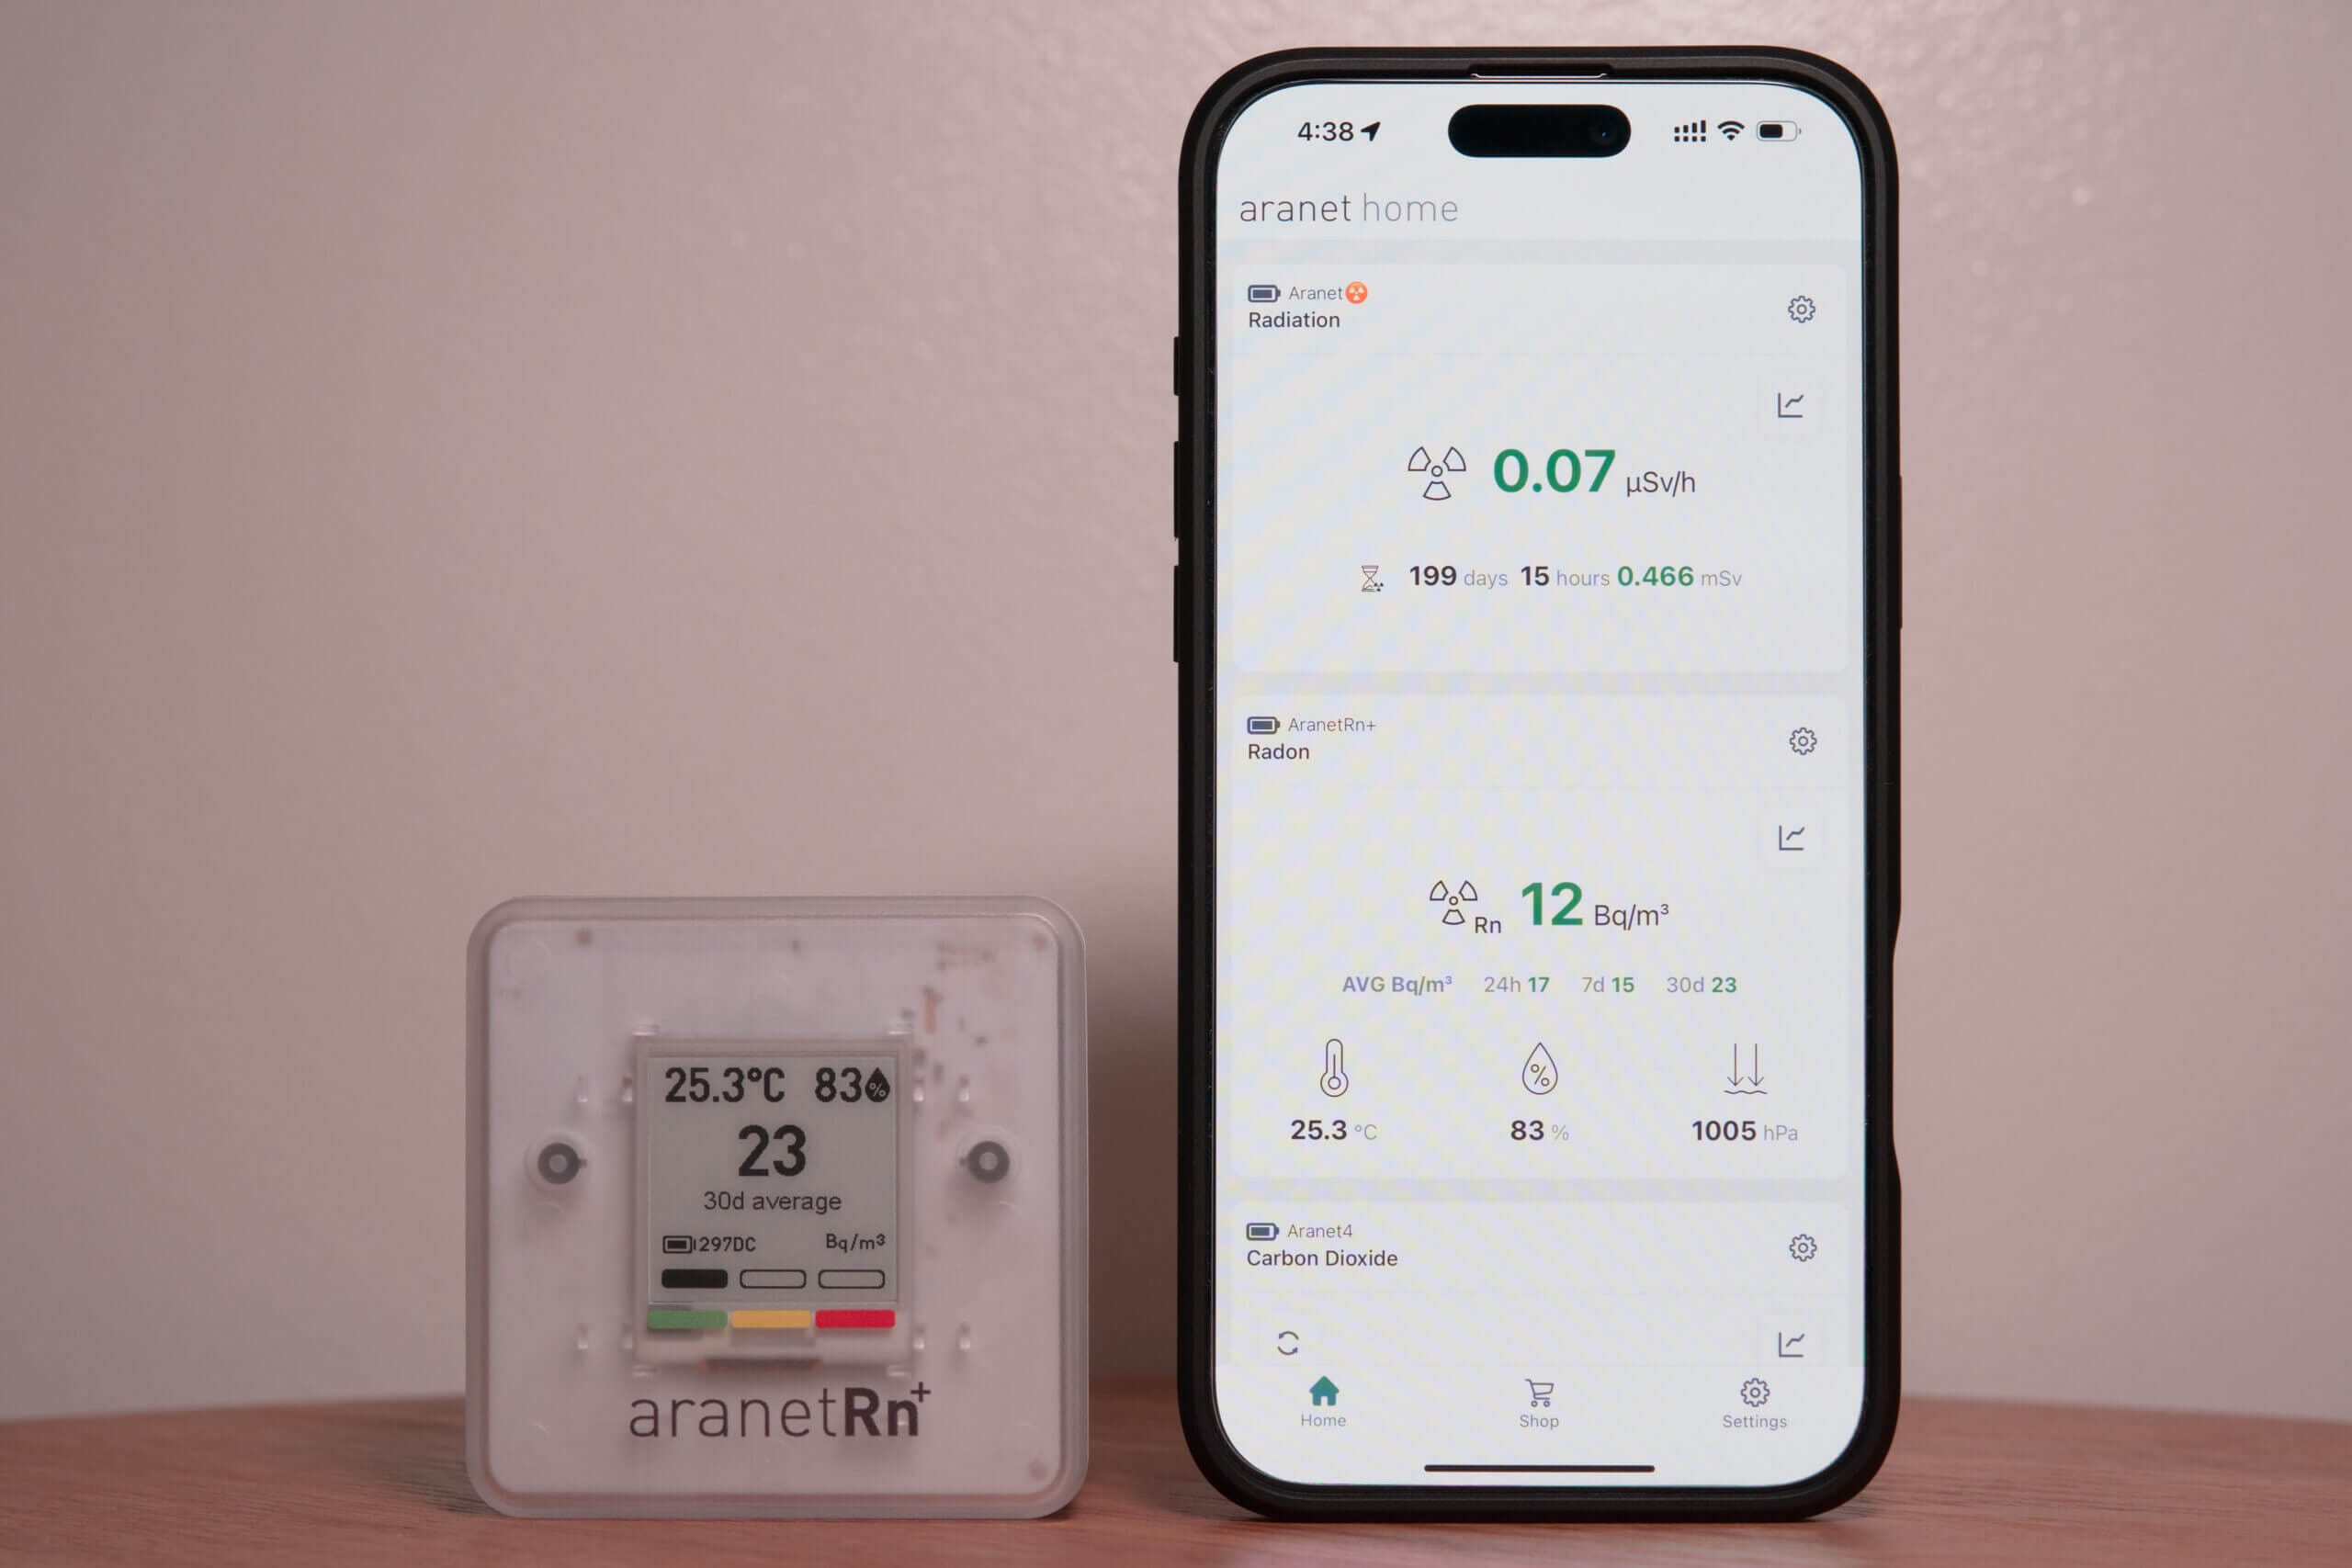
I’ve been a fan of the Aranet ecosystem for a few years now. The Aranet4 Home is still what I consider the best consumer CO2 monitor on the market, and I also use the Aranet2 and Aranet Radiation monitors regularly. So when Aranet announced their new Aranet Radon Plus, it felt like a good step towards expanding the ecosystem. When I first got the Aranet Radon Plus, I wanted to test it alongside other monitors so I also picked up a few popular competitors – the EcoQube, RadonEye, and a new Airthings Corentium – and used them all side by side for a few months. The Aranet was easily my favourite.
The Aranet Radon Plus is larger than the other Aranet Home devices because it uses an in-house pulsed ionisation chamber to measure radon. This sensor is unique to Aranet, and on paper it puts the Radon Plus in the same league as other reputable consumer radon monitors (you can find Canadian NRPP report here). One thing that stood out to me, was Aranet’s transparency. Rather than giving a general “±10% accuracy” like many brands, Aranet clearly states that 95% of readings fall within ±8%. That may sound like a small detail, but it’s something I really appreciate.
Like all radon monitors, the Radon Plus is not a “plug it in and read it in five minutes” device. It needs time. You’ll see a current value quite quickly, but the real value comes from the 24-hour, 7-day, and 30-day averages. As long as you leave it in one place, those longer averages give a much better picture of your true radon exposure. Aranet also shared some drift estimates with me, and even in relatively high-radon environments, the expected drift over time is small enough that I’m comfortable using this as a long-term monitor.
Environmental factors like humidity and temperature don’t seem to have a meaningful impact on accuracy as long as the device is used within its operating range, and there’s a pressure sensor built in so readings can be corrected automatically (as far as I’m aware, this only applies to air pressure and not humidity and temperature).
Design-wise, the Radon Plus fits nicely into the Aranet family. From the front, it looks almost identical to the other Home devices: a clean square face with an E-ink display showing radon, temperature, humidity, and battery life, plus a small “traffic light” indicator. It’s only when you turn it to the side that you notice the extra depth needed for the ionisation chamber. There’s a small scroll wheel on the side that lets you switch between current readings and different averaging windows. I’m usually not a fan of these types of scroll wheels, but on this device it feels solid and responsive.
The area where the Aranet Radon Plus really pulls ahead of other radon monitors I’ve tried is connectivity. Most radon apps I’ve used have been clunky at best and borderline unusable at worst. In contrast, the Aranet Home app is genuinely good: there are no accounts, pairing is painless, syncing is quick, and exporting historical data is straightforward. On top of that, the Radon Plus works with Home Assistant, which makes it far more flexible if you’re already running a smart home setup. There aren’t many automations you’d want to run based on radon alone, but having the data is still nice.
It’s not a cheap device, and it only uses Bluetooth (no Wi-Fi), and the battery latch feels a bit flimsy. But overall, out of the radon monitors I’ve used so far, the Aranet Radon Plus has been the most convenient and user-friendly. If you already like the Aranet4 Home or other Aranet devices, this is a very easy radon monitor to recommend.
Aranet has also released the Radon One, which is essentially a cheaper, radon-only sibling to the Radon Plus. You can read my full thoughts in the Aranet Radon One review. The Radon One keeps the same excellent app experience and battery life but drops the extra environmental sensors and is slightly less sensitive. Because it’s still very new, it hasn’t yet gone through independent third-party testing. If you want the most proven Aranet option, the Radon Plus remains the safer pick. But if you find the Radon One at a meaningful discount and don’t need the additional sensors, it’s a very compelling alternative.
- Accurate radon sensor with quick, stable averaging.
- Excellent Aranet app with strong long-term graphing and history.
- Also measures humidity, temperature, and pressure for context.
- Runs on 2×AA batteries with up to four years of life.
- Fully wireless design with no need for wall power or cables.
- Compact, lightweight build that’s easy to place properly.
- Has independent third-party testing confirming performance.
- More expensive than many competing consumer radon monitors.
- Lacks WiFi connectivity (limiting app and Home Assistant range)
- The device screen is very basic – the app is required for detail.
Airthings Corentium Home 2
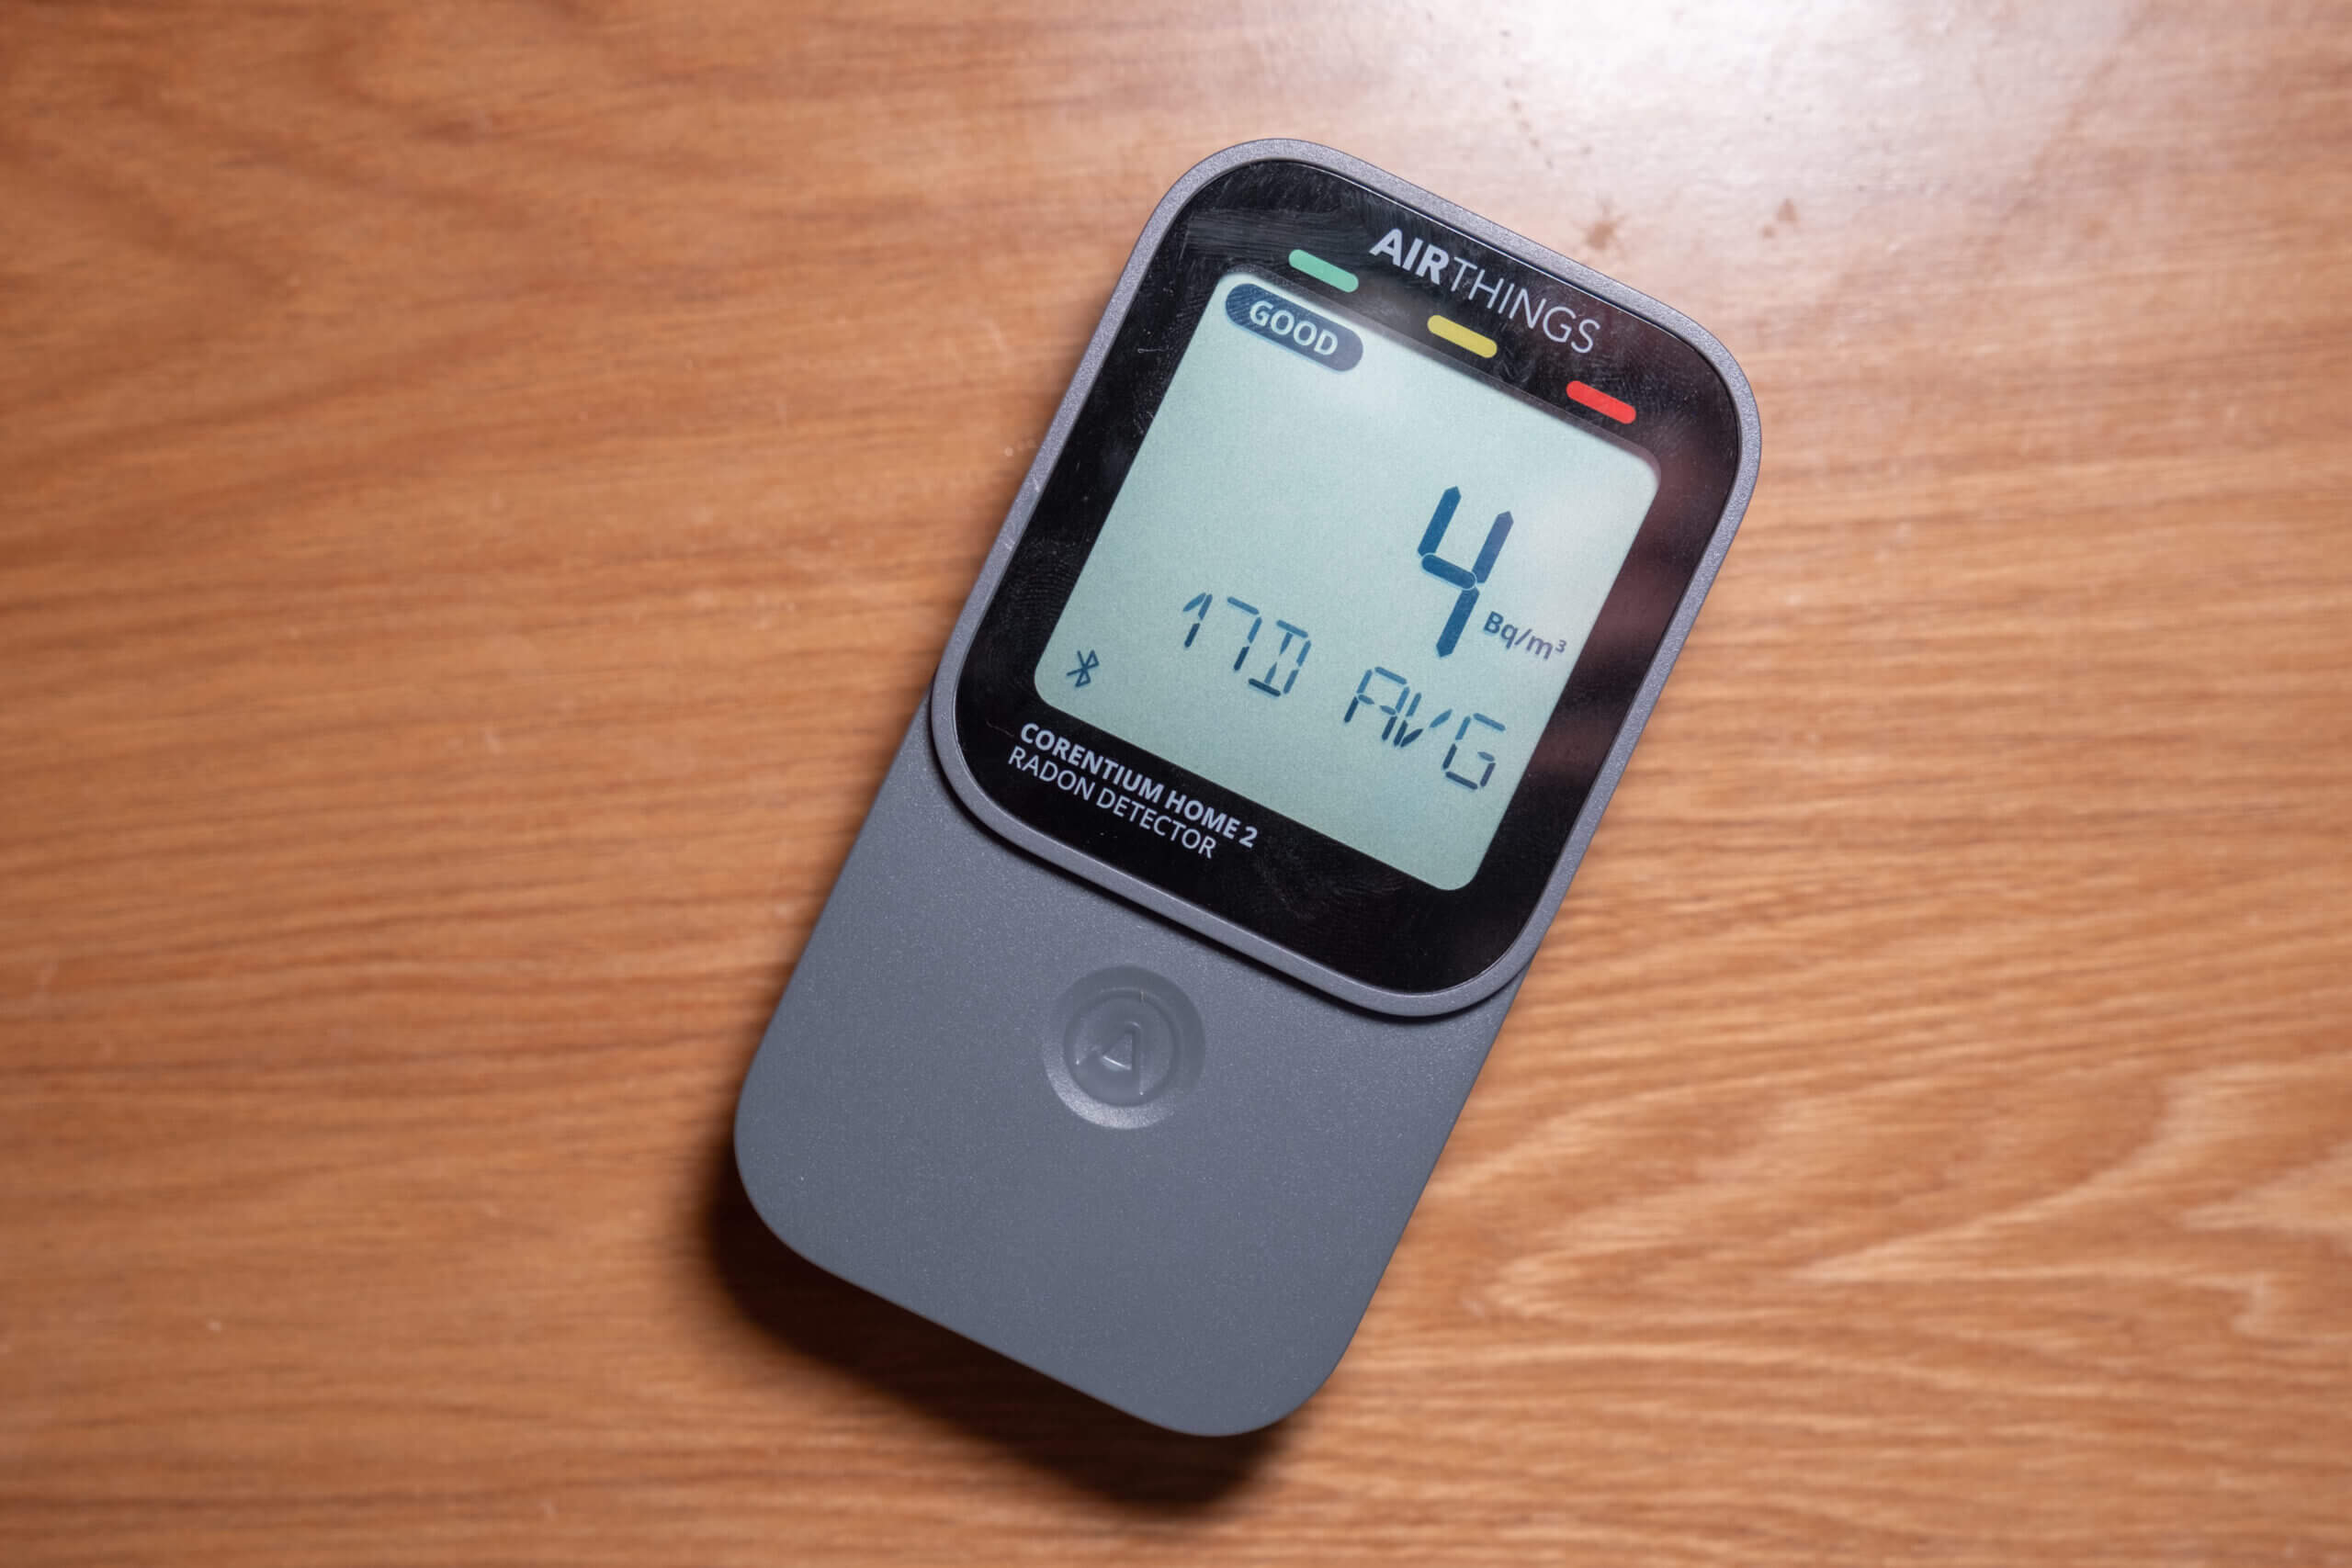
When I reviewed the original Corentium Home, I came away a bit conflicted. It’s accurate and it’s popular for a reason, but it always felt too barebones – especially considering how much it costs. If you wanted any kind of history, graphs, or even basic “smart” features, you were out of luck. It did the job, but it didn’t really make the job any easier.
That’s why I was cautious about the Corentium Home 2. I expected a small refresh and not much else. Thankfully, Airthings didn’t go that route. Instead, they’ve built something that feels like a massive step forward. The Corentium Home 2 may be a successor in name, but in practice it feels like a new device. It keeps the key strength of the original (the sensor) and adds the one thing the old model was missing entirely: connectivity.
From what Airthings has shared and what I’ve seen so far, the Home 2 uses the same core radon sensing approach as the original Corentium Home, which is reassuring. The original has a long track record and plenty of third-party testing behind it, including C-NRPP evaluations. That means the sensing platform is already well understood and proven to perform reliably. If you want to learn more about the sensor itself, please read the entry below this on the Corentium Home (original).
As mentioned, the big upgrade here is Bluetooth and Airthings app support. You can still use the Home 2 as a standalone monitor (and I like that it doesn’t force you into an app just to change basic settings). On the device itself, you get the 24-hour, 7-day, and 30-day averages, plus temperature and humidity. If you do connect it, the Airthings app gives you proper historical graphs and a much clearer view of trends over time. The trade-off is that Bluetooth syncing is… still Bluetooth syncing. You’ll want to be near the device, and it can feel a little slow when pulling larger chunks of historical data.
Overall, the Corentium Home 2 fixes the main problem I had with the original. It’s still simple and easy to use, but it no longer feels like a device that has been purposefully limited. If you want a radon monitor that’s accurate, easy to live with, and finally has modern features, this is a strong option.
At this point, I think it’s fair to say that the Corentium Home 2 and the Aranet Radon Plus sit at the top of this category (at least in my experience!). Both use proven, well-tested sensors, both offer strong connectivity and long battery life, and both are devices that blend well into my home. I don’t think there’s a clear technical winner between them. The choice really comes down to personal preference – which ecosystem you prefer, which interface you like more, and what pricing or availability looks like where you live. You won’t be making a bad decision with either device.
- Proven radon sensor platform with strong third-party testing history.
- Bluetooth connectivity with app access to long-term graphs and trends.
- Works perfectly as a standalone monitor without requiring an app.
- Clear 24-hour, 7-day, and 30-day averages directly on the device.
- Includes temperature and humidity for added environmental context.
- Long battery life (around 2–3 years on AA batteries).
- Compact, simple design that’s easy to place correctly.
- Optional extended warranty coverage up to five years.
- Limited customisation compared to more enthusiast-focused monitors.
- No adjustable alert thresholds inside the app.
- Bluetooth syncing requires close proximity and can feel slow.
- No direct in-app data export (requires web dashboard).
- Original Corentium Home remains cheaper if you don’t need connectivity.
Airthings Corentium Home
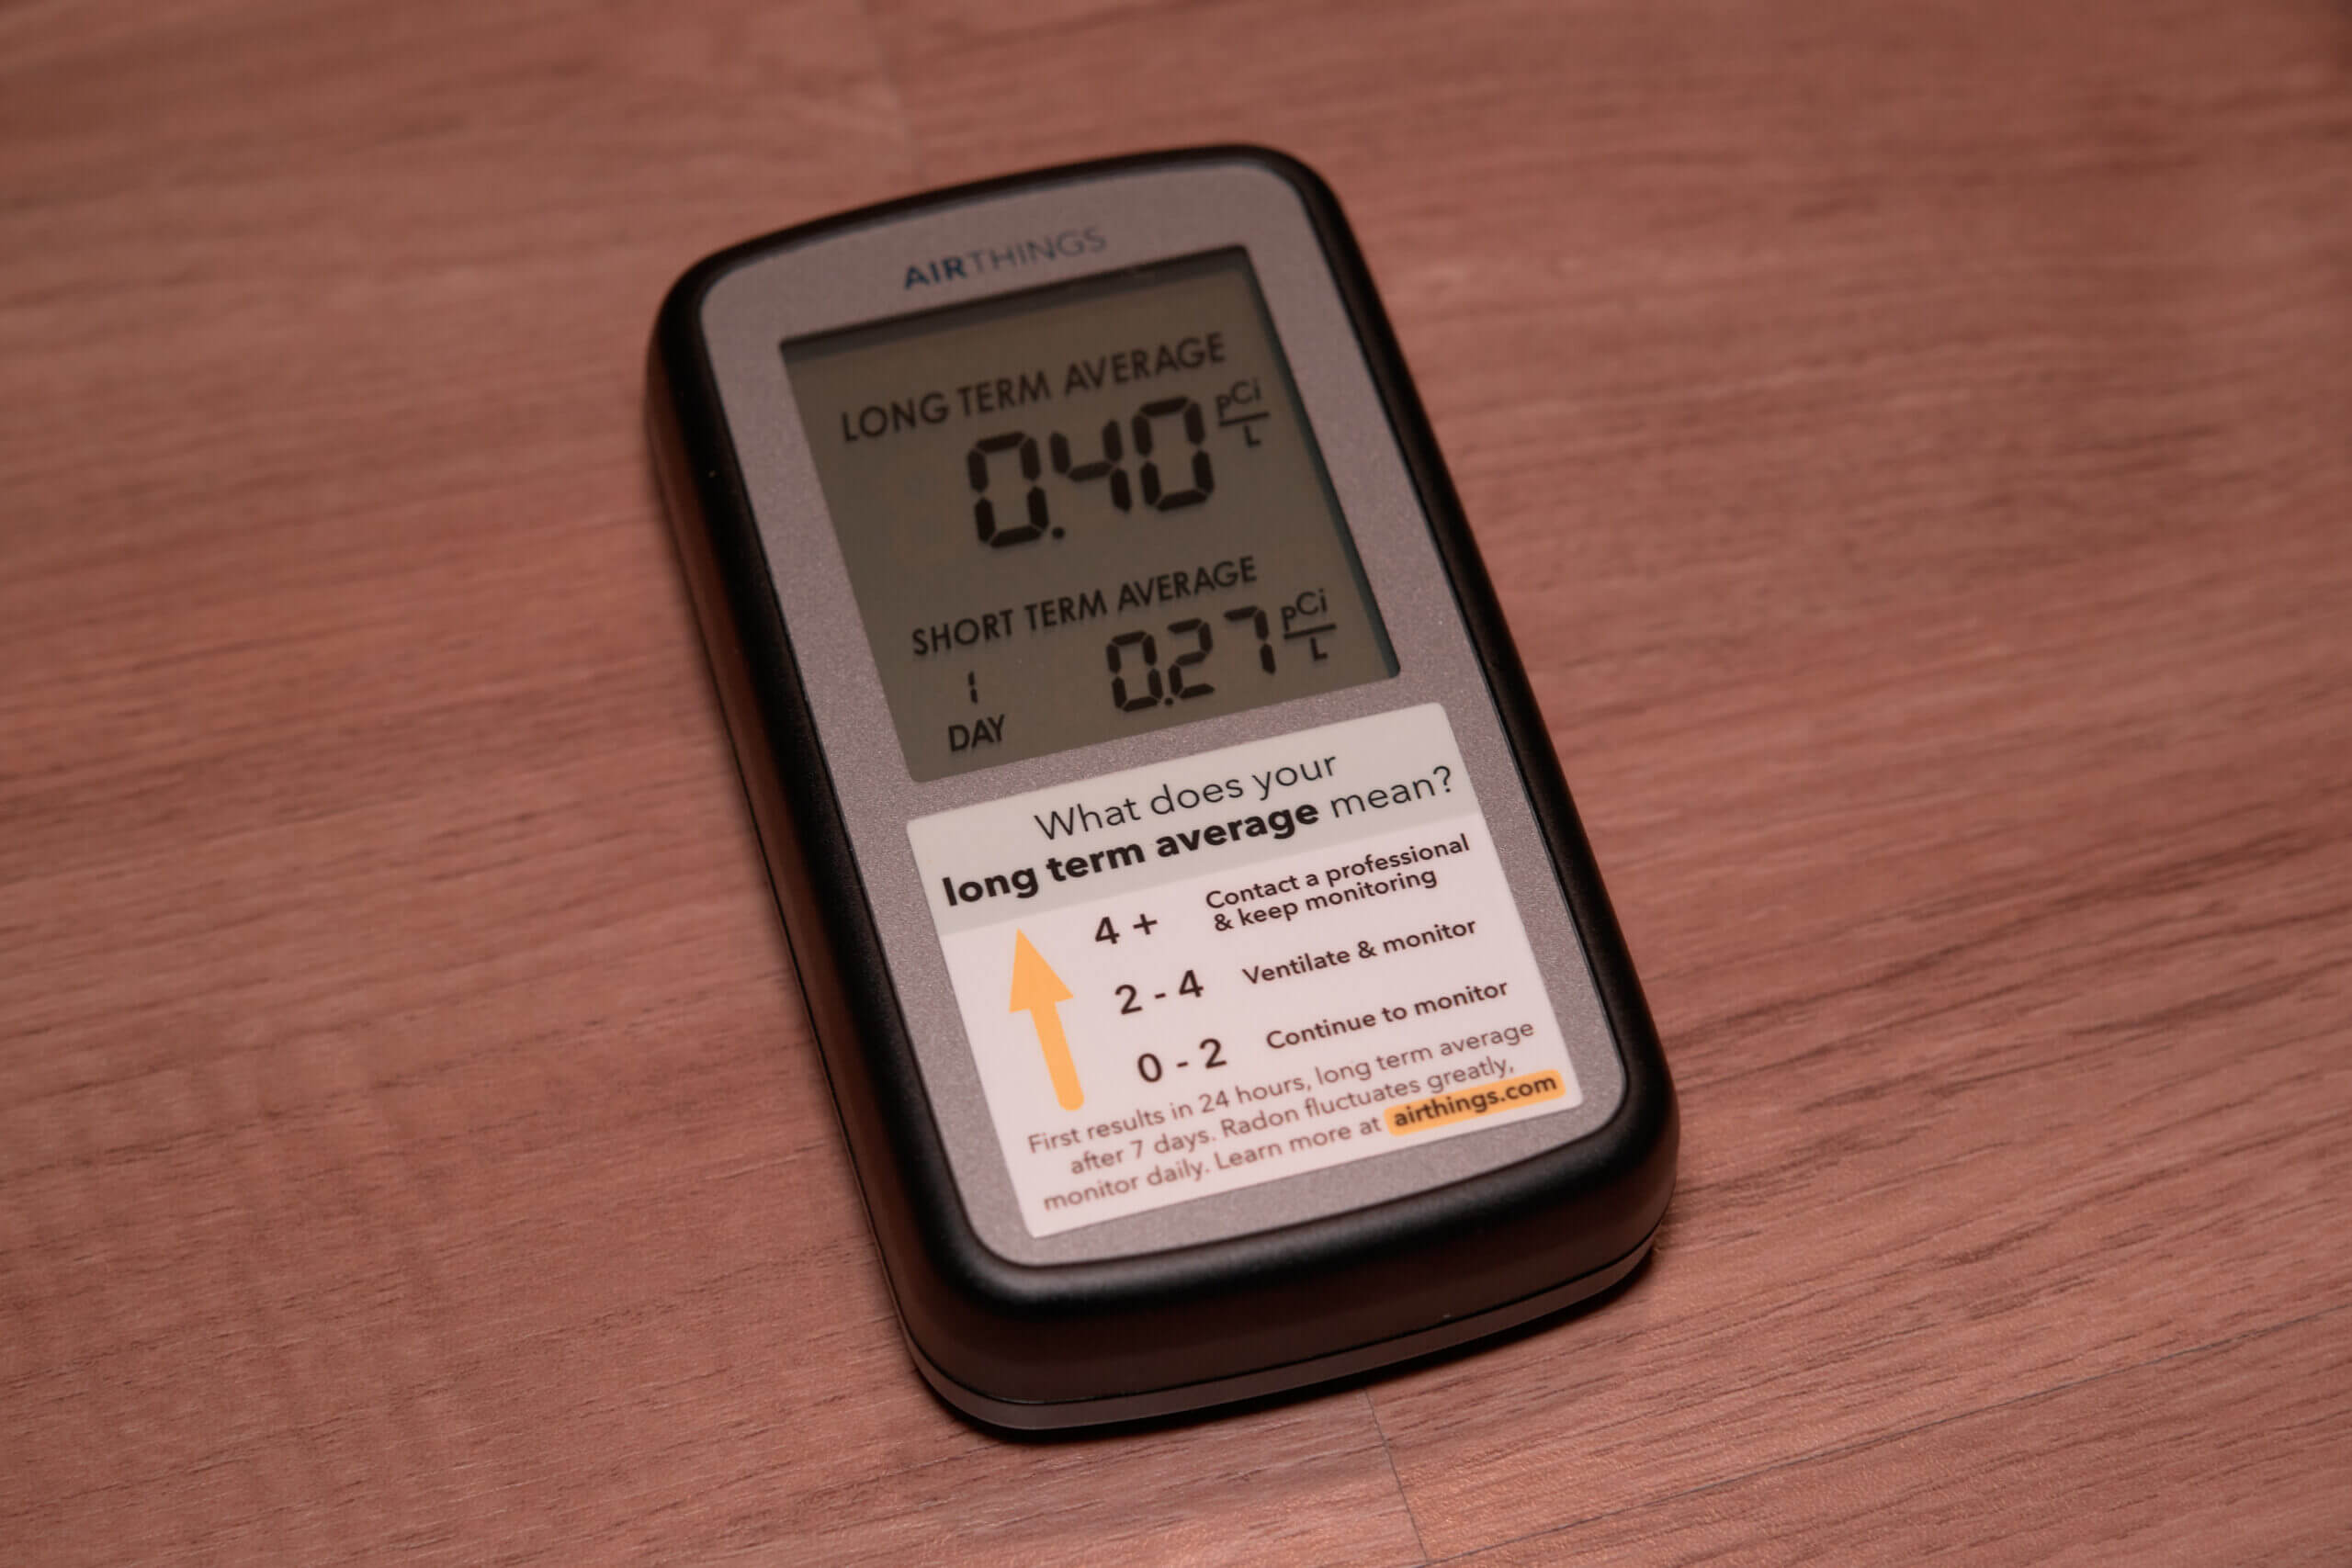
Now that the Corentium Home 2 exists, you might expect the original model to disappear from recommendations like this. However, I’m leaving it here because it still serves a purpose for some users. If you want an accurate, no-frills radon monitor at a lower price and don’t need connectivity, the original Corentium Home still makes sense. Please note, though, that I do think the Corentium Home 2 is a far better device for most users.
When I started testing radon monitors properly, the Airthings Corentium Home was one of the first devices I wanted to try. It’s easily one of the most popular radon monitors on the market, and after seeing it recommended everywhere, I was curious to see whether its reputation was deserved. I’ve now had the device for almost two years, and it’s one of my most used radon monitors.
The Corentium Home uses Airthings’ own alpha-spectrometry sensor, which is the same basic sensor used across much of their product range. The benefit of this approach is size: alpha-spectrometry lets Airthings build a much more compact device than some of the larger ionisation-chamber monitors. But accuracy is really the important part, and luckily the Corentium Home is one of the most tested consumer radon monitors available. In fact, it appears in multiple C-NRPP reports, and the results are generally reassuring. Depending on the study, it tends to show ≤ 10 – 20% error, putting it within the typical accuracy band for consumer devices and sometimes even on par with the accepted tolerance for more professional monitors (but it’s important to remember that it can not replace such a device).
Long-term drift is a reality for every consumer radon monitor, and the Corentium Home is no exception. As radon progeny accumulate on the sensor over time, accuracy slowly degrades. The good news is that the Corentium Home has been on the market for a long time now, and based on the research available, it seems like the device should stay reasonably accurate for three to five years in low-to-moderate radon environments. But in homes with consistently high concentrations, the lifespan may be shorter. Like all radon monitors, it needs time to stabilise – ideally 30 – 90 days – and you should avoid moving it during this period if possible.
Where the Corentium Home differs from almost all of its competitors is in its simplicity. There’s no Bluetooth, no Wi-Fi, no app, and no historical graphing. What you see on the screen is what you get: a long-term average, a short-term average, a battery indicator, and not much else. In a world where almost every other radon monitor requires a smartphone just to access basic features, I understand the appeal of something this straightforward. You put it in a room, leave it alone, and check the display every now and then. For many people, that’s exactly what they want.
Of course, simplicity cuts both ways. At $149, it’s not dramatically cheaper than other monitors that offer far more features. There’s no way to change the units, which is frustrating if you buy the “wrong” regional version (like I did). The micro-USB port is for manufacturers only, which feels like a missed opportunity for even basic data export. And compared to something like the Aranet Radon Plus – which costs only a bit more (when on sale) but has a vastly better feature set – the Corentium Home can feel limited.
Even so, I understand why the original Corentium Home is so popular. It’s accurate, compact, has great battery life, and works perfectly as a standalone, “set-and-forget” radon monitor. I don’t think it’s the best device in this category, but if you want something simple with no apps, no pairing, and no complexity, this is a solid option.
- Accurate long-term radon measurement with strong third-party test results.
- Completely standalone device — no app, setup, or connectivity required.
- Excellent battery life (up to two years on 3×AAA).
- Large, easy-to-read screen showing both short-term and long-term averages.
- Very simple operation that suits users who want a “set and forget” monitor.
- Lightweight, compact, and easy to place in most rooms.
- No connectivity or data export — all readings must be viewed on the device.
- Cannot switch units (pCi/L ↔ Bq/m³); model is fixed to region.
- Quite pricey considering the feature set
Air-Q Radon
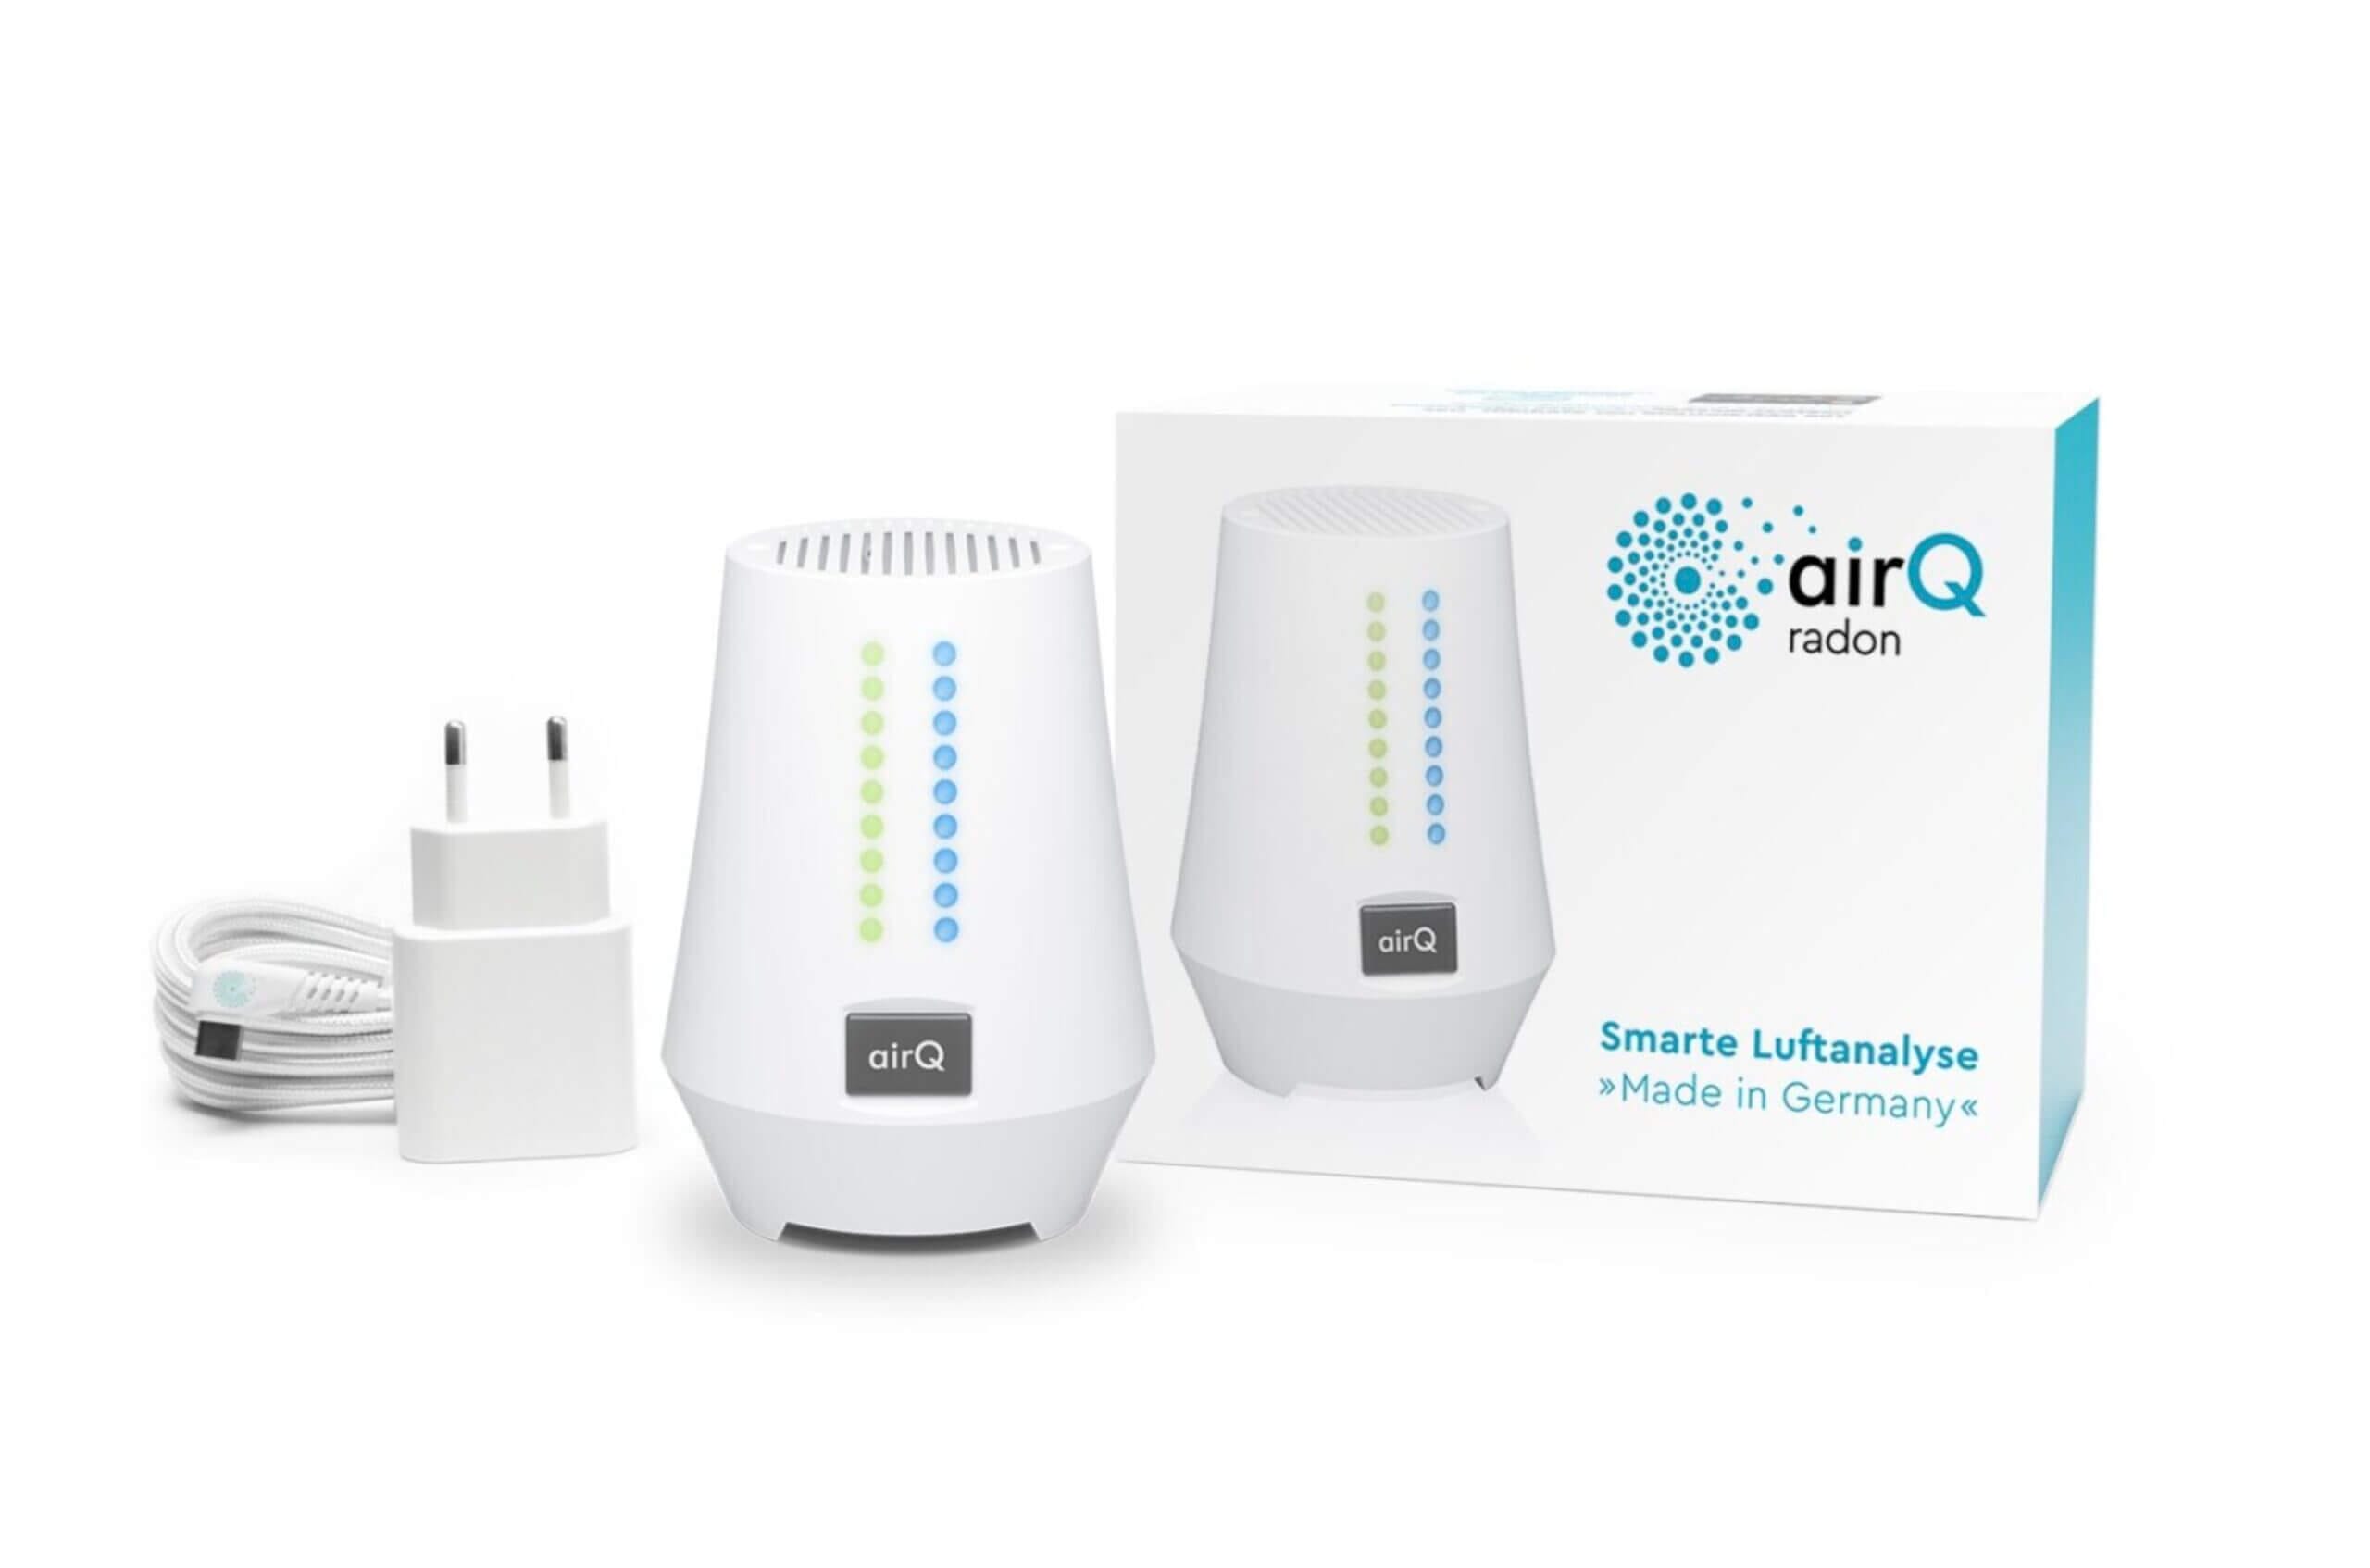
The Air-Q Radon line is a bit different from the monitors we’ve discussed so far, simply because it isn’t just a radon monitor, but rather, it’s a full indoor air quality platform that happens to include radon. Air-Q makes two radon-enabled models: the more affordable version, which includes radon, VOCs, temperature, humidity, and air pressure; and a higher-end model that adds CO2 and PM2.5 to create one of the most comprehensive indoor monitors currently available.
Air-Q develops its own radon sensor and advertises accuracy of ±10% of reading with a lifespan of > 10 years (when used in a ‘normal’ household environment) – or, in other words, when the radon concentration isn’t anything abnormal. Air-Q’s radon sensor hasn’t yet received that same volume of external validation as other sensors in this list. If independent testing is important to you, there are other options on this list that might be better to look into.
What makes the Air-Q Radon devices stand out is the platform surrounding the sensor. The app is extremely detailed – far more so than most consumer-level radon monitors – and includes long-term trend graphs, clear explanations of pollutant sources and limits, extensive configuration options, and both “health” and “performance” scores to help contextualise your indoor environment. The LED bars on the device can be mapped to any pollutant you want at a glance, and Air-Q supports a wider range of smart home integrations than anything else on this list. Home Assistant support, in particular, is excellent, and there’s also local data logging via the 16gb of internal storage if you prefer not to rely on cloud storage.
There are some important caveats. Air-Q monitors are not cheap, even at the lower end of the lineup, and they’re definitely geared more toward users who want deep insight into their air quality rather than a simple “set it and forget it” experience. The interface is powerful but can feel overwhelming, and the app setup process could be smoother.
With all that said, the Air-Q Radon is a compelling choice for anyone who wants radon monitoring plus a genuinely comprehensive suite of additional sensors – all tied together with strong connectivity, powerful software, and class-leading smart home support. For users who want deep, long-term insight into their indoor environment, it’s one of the most feature-rich options available.
- Incredible sensor breadth — radon plus VOCs, temperature, humidity and pressure all in one unit.
- Optional higher-tier models add CO2 and particulate matter monitoring, making it a full indoor air quality station.
- Wi-Fi connectivity, app dashboard, web interface and wide smart-home integration with support for Home Assistant and more.
- Constant power via USB eliminates battery changes, making it ideal for continuous, long-term monitoring.
- Highly configurable through the app, with advanced features and exportable data for enthusiasts.
- Higher price point than most single-purpose radon monitors.
- App setup and web dashboard offer many features but may overwhelm users who just want a simple display.
- No public independent radon-sensor certification or third-party testing data (so far).
* Please note this review is for a non-radon Air-Q device as I haven’t yet had a chance to write the full radon monitor review. However, besides the design and sensor selection, almost all aspects are similar between the two.
Airthings View Plus
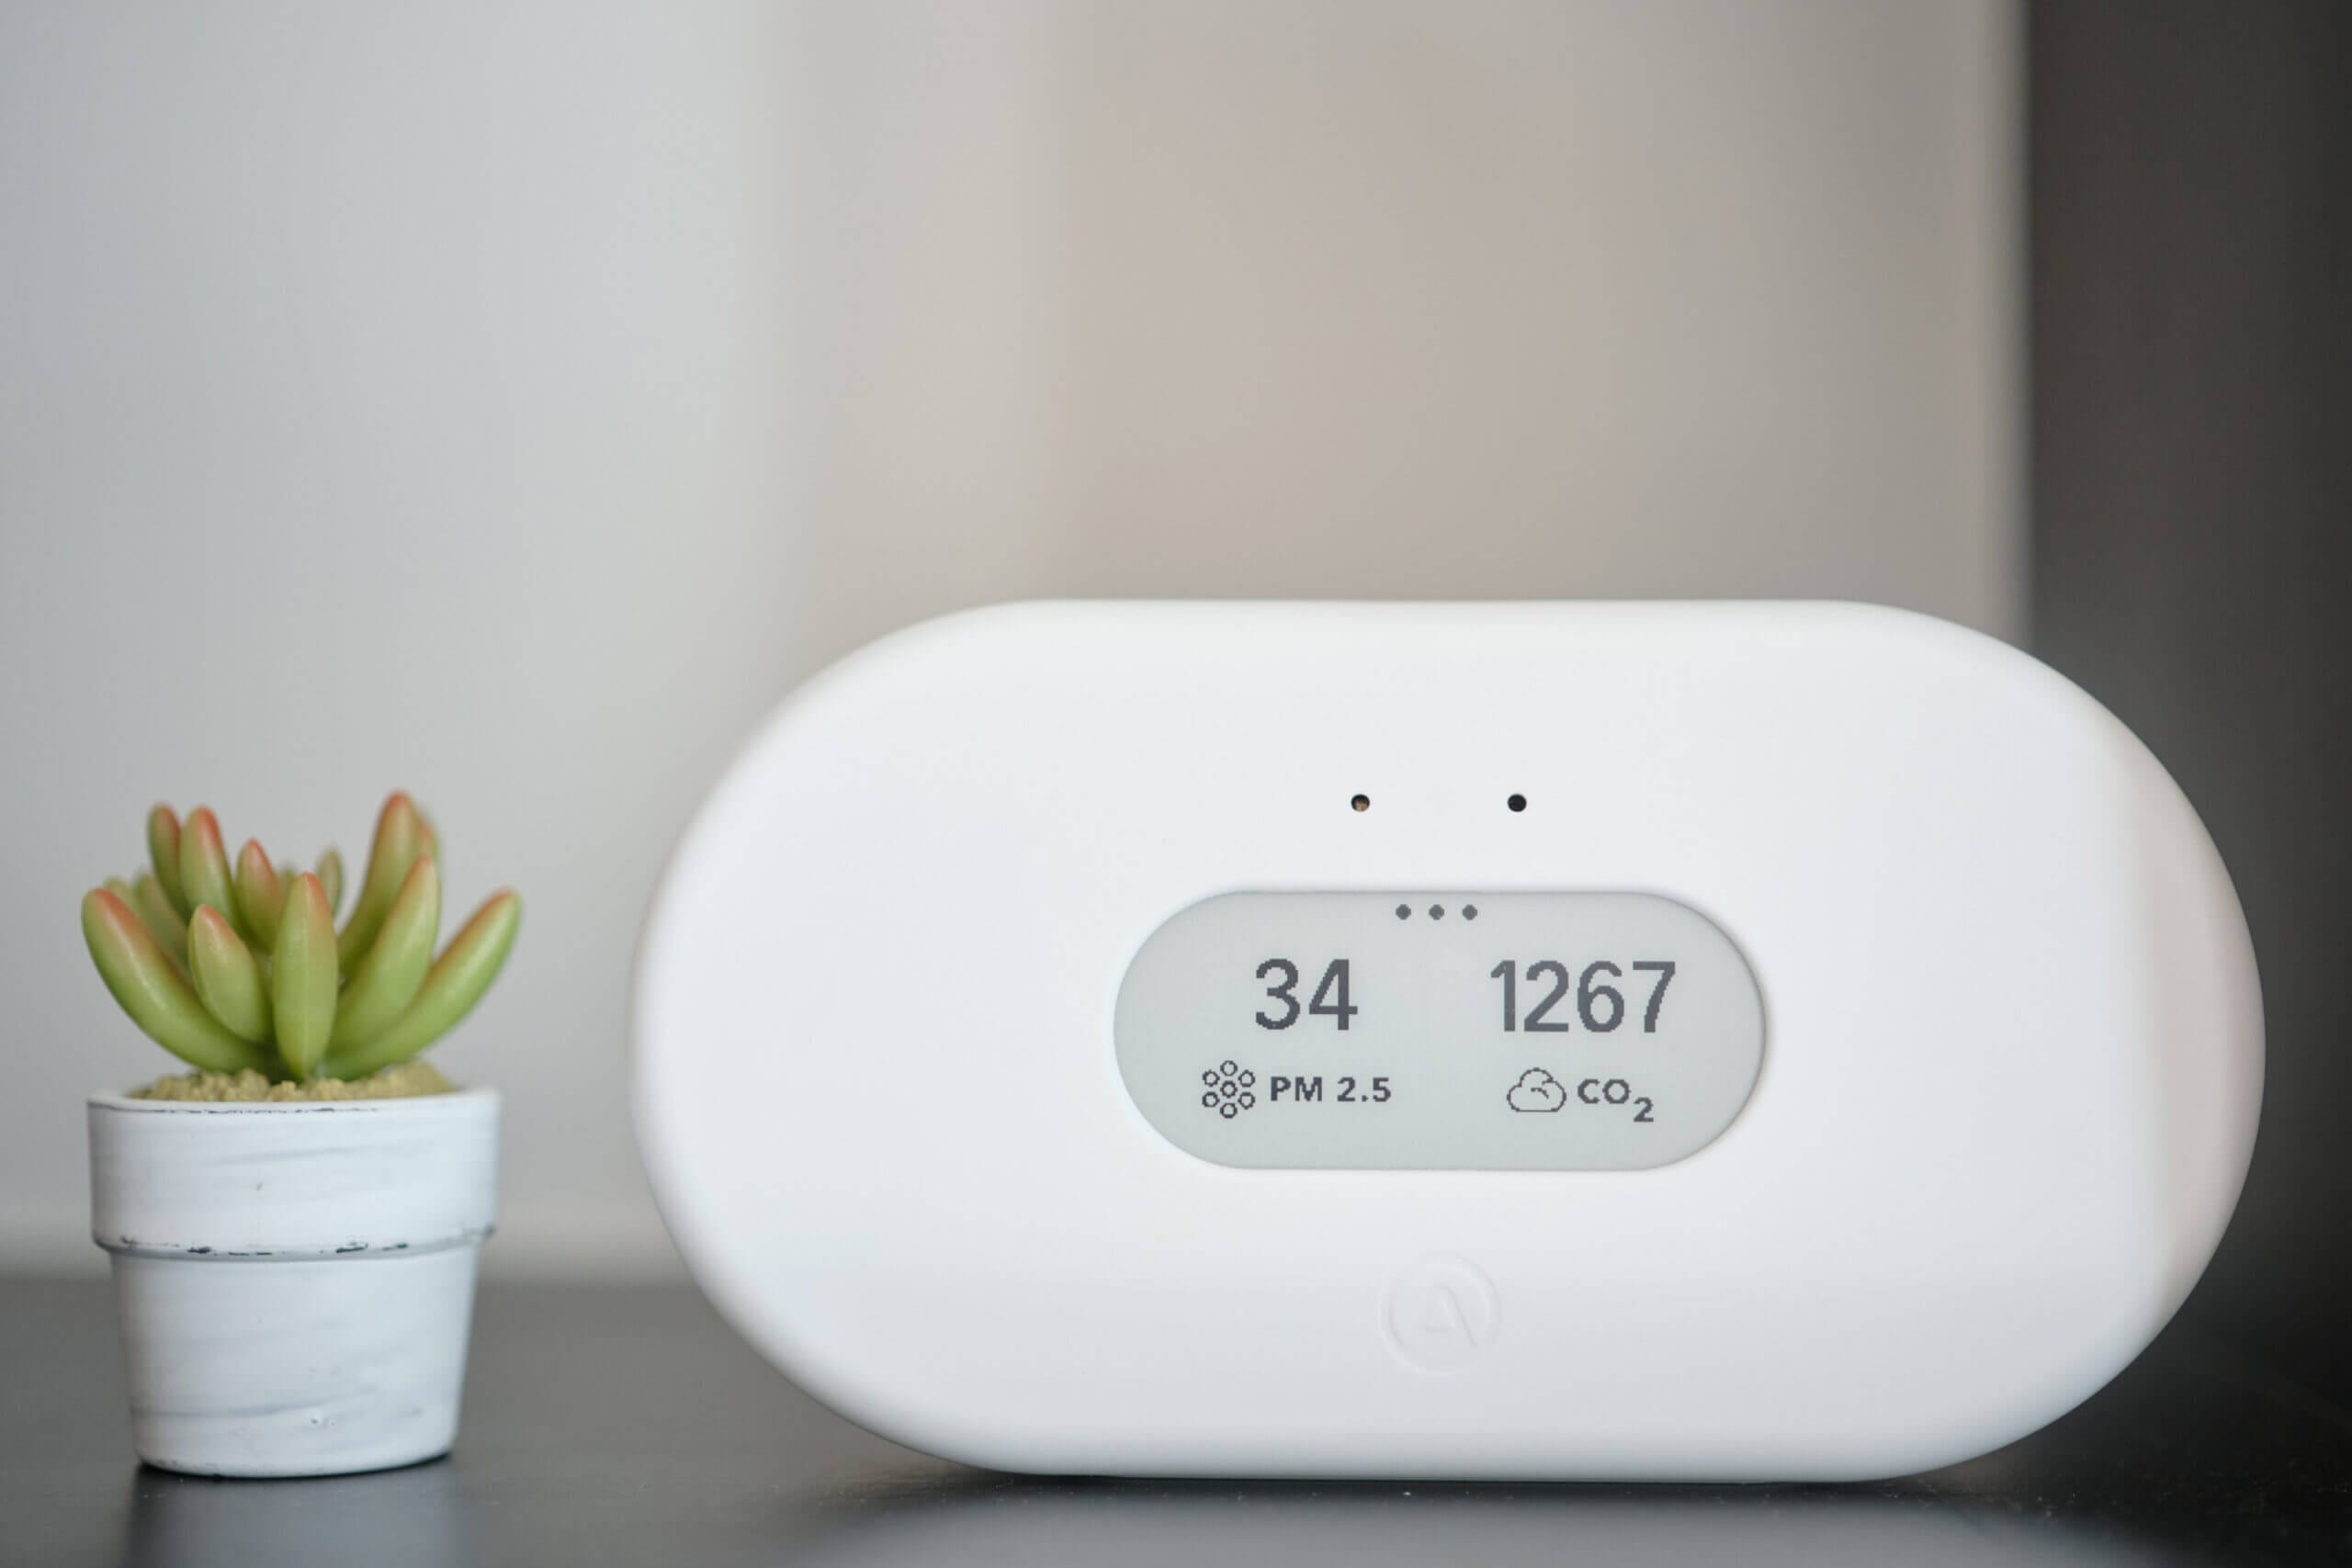
When I originally reviewed the Airthings View Plus, I wasn’t exactly glowing about it. My main criticism was that, as a $300 monitor, it felt a bit limited for enthusiasts: there’s no manual CO2 calibration, thresholds can’t be customised, data export is awkward, and some of the design choices clearly prioritise simplicity over control. However, when you narrow the focus to radon, the View Plus suddenly makes a lot more sense.
The big appeal here is the sensor mix. The View Plus doesn’t just measure radon; it also covers CO2, PM2.5, VOCs, temperature, humidity, and pressure in one fairly approachable package. If you don’t want multiple monitors on your shelf, or you’re buying for someone who just wants “one box that does everything”, this is one of the very few semi-affordable options that checks that box and still comes from a brand with decent support and a mature app and web dashboard.
Based on C-NRPP testing, the radon performance of the View Plus lags behind the dedicated radon monitors in this article (with the exception of the Air-Q, which hasn’t been third-party tested yet). It’s good enough to show long-term trends and indicate whether your radon levels are low, moderate, or something you should take seriously, but if you’re chasing the best possible accuracy, the Aranet Radon Plus or Corentium Home are better tools for that job.
Where I think the View Plus earns its place on this list is for people whose primary goal is a comprehensive indoor air quality monitor and whose secondary requirement is “it should also measure radon.” In that situation, it’s actually quite compelling: you get a wide sensor set, a clean E-ink display, easy app access, solid Wi-Fi connectivity, and a user experience that non-technical family members can happily live with. Compared to something like the Air-Q Radon, it’s less flexible and less customisable, but it’s also significantly cheaper and far less intimidating to set up and use.
So while I still stand by my original review – that the View Plus is expensive and a bit too locked-down for enthusiasts – I do think it deserves a spot in a radon-focused guide. If you want the best radon monitor, look at the dedicated devices first. But if you want a single, polished, all-in-one monitor that covers radon alongside the main indoor pollutants, the Airthings View Plus is one of the few options I’m comfortable recommending.
- One of the few all-in-one monitors that includes radon alongside PM2.5, CO2, VOCs, temperature, humidity and pressure.
- Excellent app and web dashboard with easy access to long-term trends.
- Strong smart-home integration (Alexa, Google Assistant, IFTTT and more).
- Long battery life thanks to 6× AA cells and optional USB-C power.
- Good user experience overall — simple enough for beginners while still offering useful data views.
- Radon accuracy is lower than dedicated devices like the Aranet Radon Plus or Corentium Home.
- E-ink screen only shows two pollutants at a time and requires waving to cycle through the rest.
- High price considering the limitations, especially for enthusiasts.
Conclusion
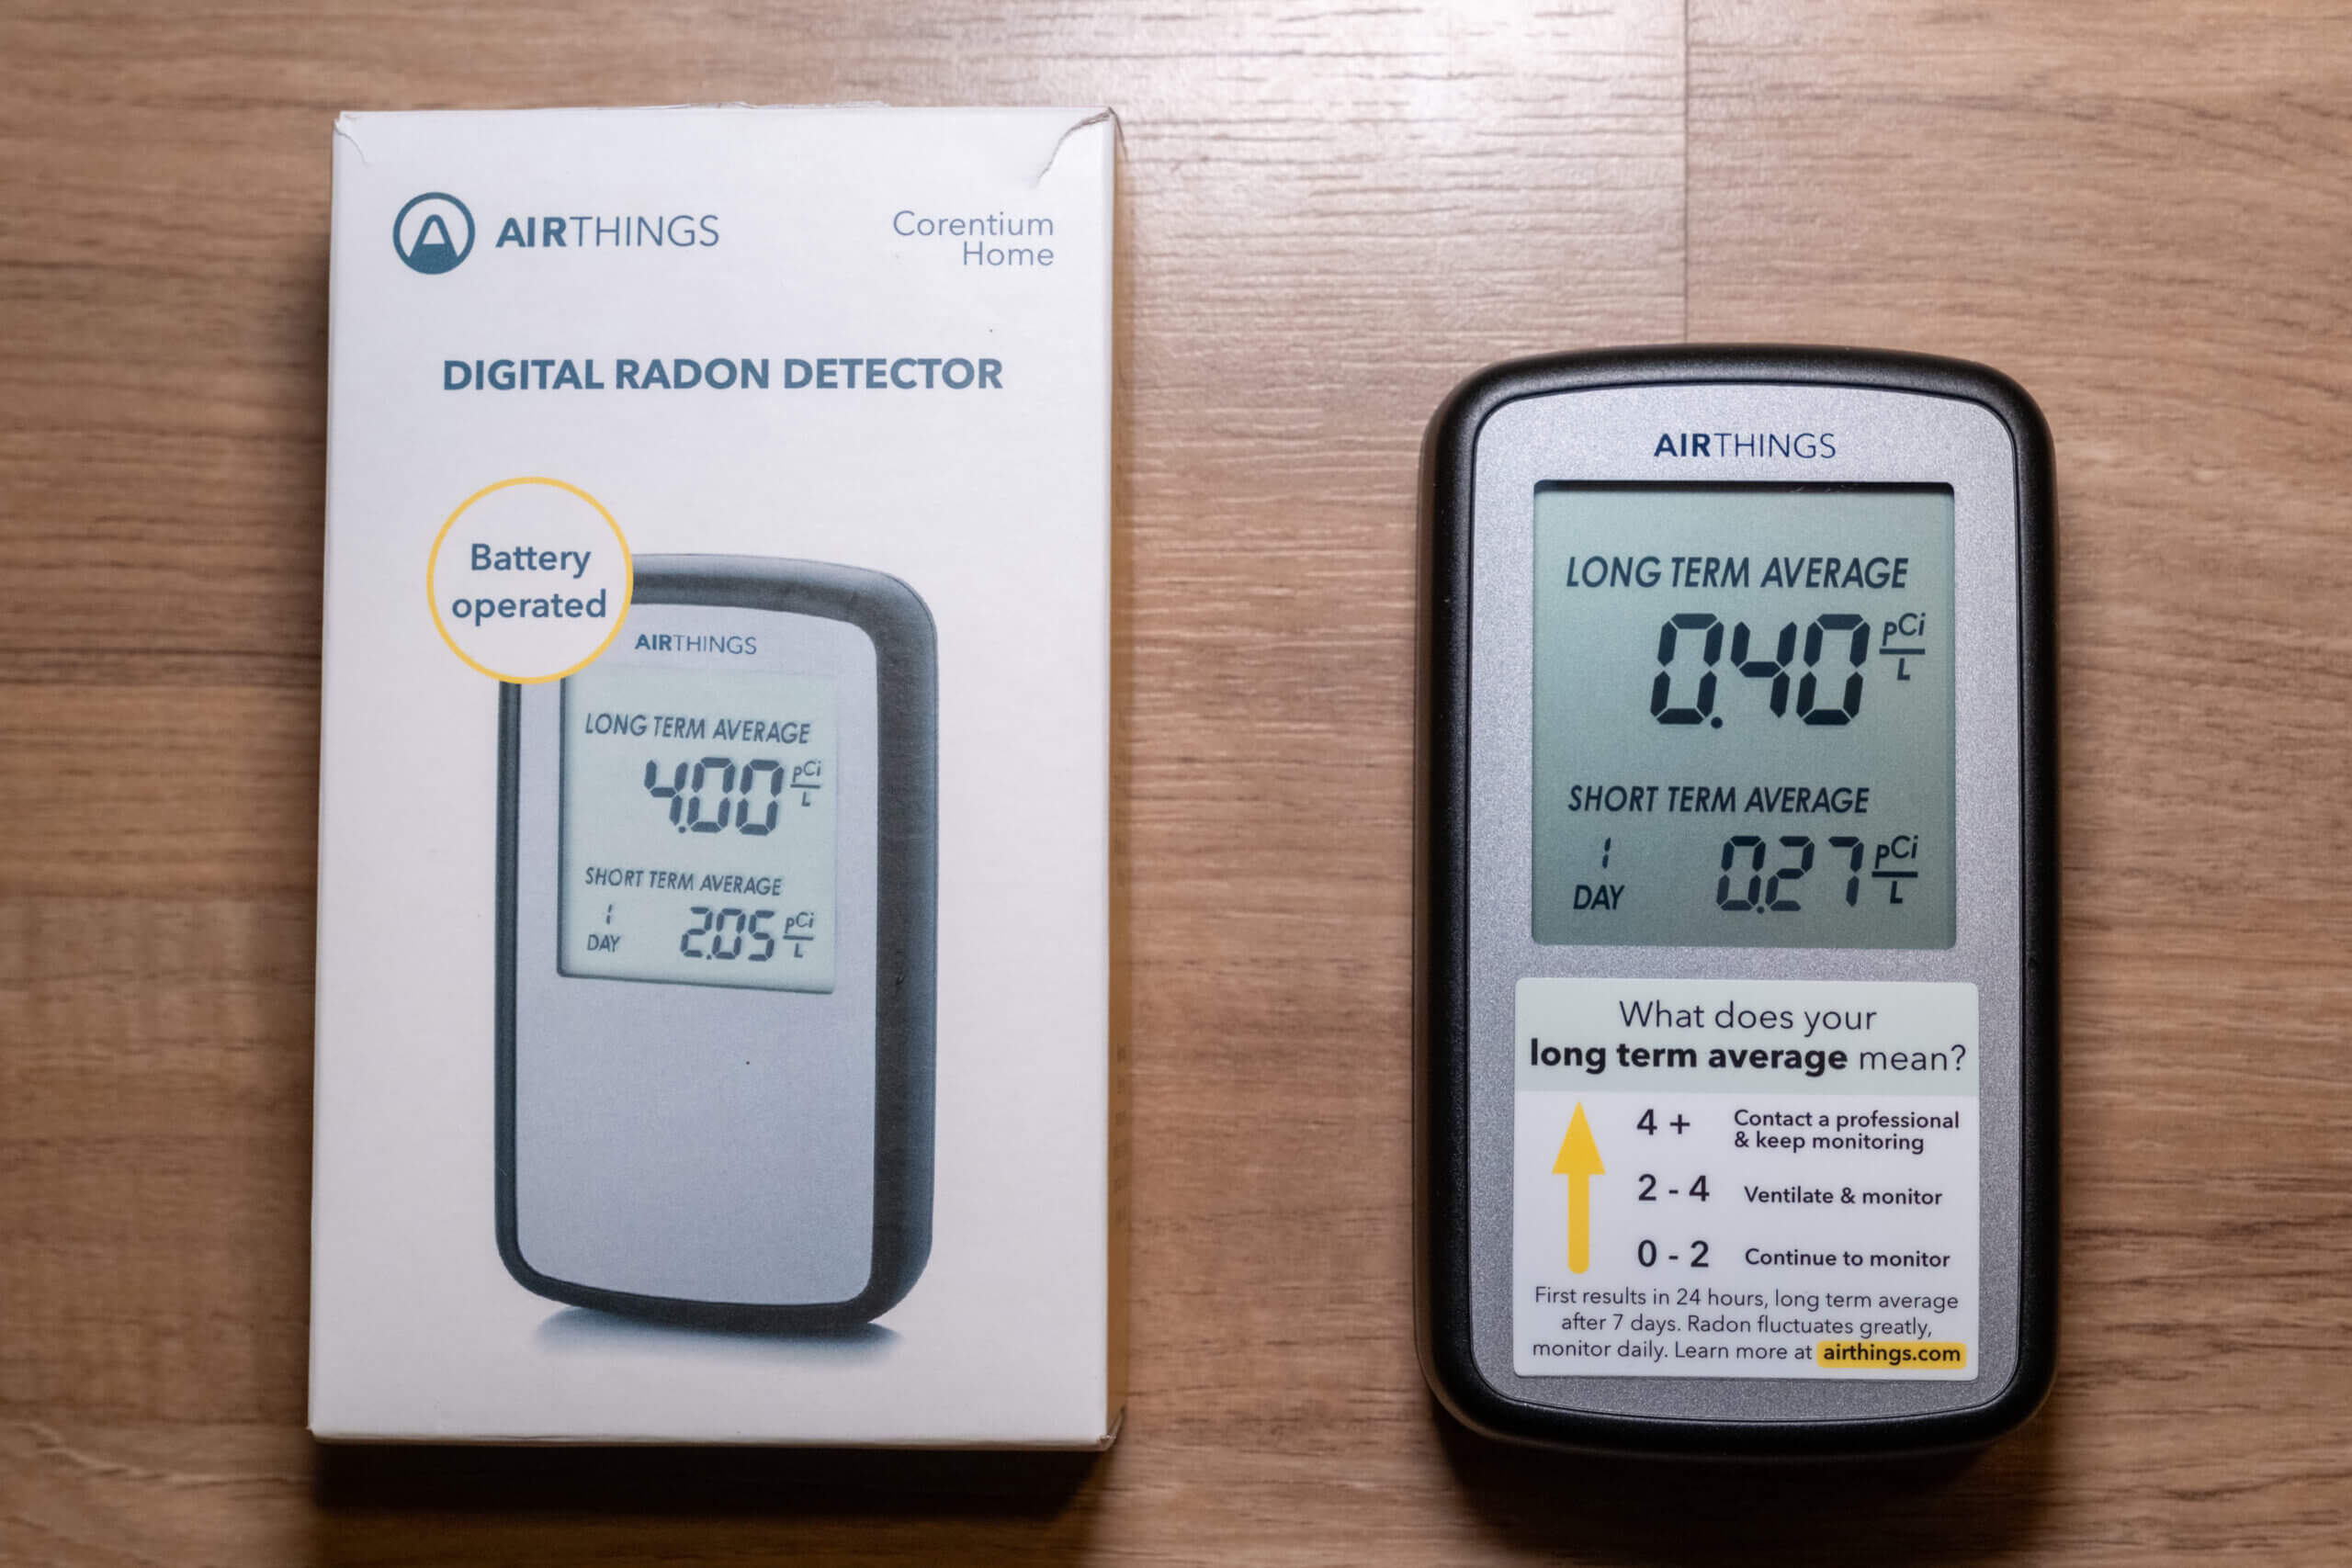
When I first started testing radon monitors a few years ago, the market felt surprisingly limited – especially compared to CO2 or PM2.5 monitors, where progress has been rapid. But it’s been great to see things slowly change. Over the past couple of years, a handful of genuinely well-rounded radon monitors have finally started to appear, and the devices in this list reflect that shift. Each of them fills a different role, and I hope this guide has made it easier to figure out which one is the right fit for your needs, your home, and your budget.
If you’re after a dedicated radon monitor that focuses solely on accuracy and long-term tracking, the Aranet Radon Plus and Airthings Corentium Home 2 are my favourite options. They’re simple, consistent, and support some more advanced features too. If you want a broader air quality station that also includes radon, the Airthings View Plus is the strongest “all-in-one” choice that’s been independently tested – even if I’d still like to see a few improvements in future revisions. And if you’re someone who enjoys digging deeper into data, experimenting, or customising everything, the Air-Q Radon has far more features and flexibility than almost anything else in the consumer space.
All of these monitors have their place, and there’s no single “best” option for everyone, but, hopefully, this article has helped narrow things down and given you a clearer sense of where each device shines. If you’ve used any of these monitors (or if you think there’s another radon monitor I should look into) feel free to share your thoughts in the comments below. I’d love to hear your experiences. Thank you for reading!
Radon Monitor FAQ
How accurate are consumer radon monitors?
Some can be pretty accurate, provided you give them enough time. Radon levels fluctuate constantly, and short-term readings can be misleading. Most monitors need 2–7 days to stabilise and 30+ days to give a reliable long-term average. The Aranet Radon Plus and Corentium Home, in particular, both performed well in third-party testing, but even the best consumer monitors aren’t a replacement for lab kits if you need formal documentation.
Do I really need a radon monitor if I’m not in a high-risk area?
If you’re in a known radon zone, you should absolutely be monitoring. If you’re not in one, it depends. Radon is extremely local, and you can have two identical houses next to each other with completely different levels. If you live on a concrete slab, have a basement, or spend a lot of time in ground-floor rooms, a long-term radon check is worth doing at least once.
What’s the difference between a radon test kit and a radon monitor?
A test kit (usually charcoal or alpha-track) gives you a one-time measurement over a fixed period and is often required for regulatory or real-estate purposes. A radon monitor gives you continuous readings, helps you spot seasonal changes, and lets you see how your home behaves day-to-day. If you’re installing or adjusting mitigation, a monitor is far more practical.
How long should I measure radon before trusting the results?
Some monitors advertise readings after one day, but realistically one month is where results become meaningful. Radon varies by time of day, weather, ventilation, seasons – everything. Long-term averages tell the real story.
Where should I place my radon monitor?
Ground-floor or basement rooms where you spend the most time. Keep it:
– 0.5 – 2 metres above the floor
– Away from exterior doors/windows
– Not directly next to vents or fans
– In a spot with stable airflow (not a corner or enclosed shelf)
Each manufacturer gives slightly different guidelines, but those rules work for almost all monitors.


